If you just want to look at pretty pictures, click here to go down all the way. If you want just resources click here.
My Vision Of A DIY Arched Bar
During the course of removing all the brown wood in our home, we also removed a lot of architectural details like custom moulding in the house, so I really wanted to add back some of that character to the house.
An arch is the perfect way to do that.
Also, I followed an all AI images account on Instagram that gave me all kinds of wild ideas for an DIY arched bar so that’s where the germ of the idea originally came from.
Dream Meets Reality
My initial arched bar idea had custom arched doors on the top, but when I realized the amount of work (and time) that would take, I had to reevaluate my design dreams.
Then there is a high risk of a project being incomplete for eternity, I didn’t want that at any cost. So I scaled back my design and opted for open shelving instead.
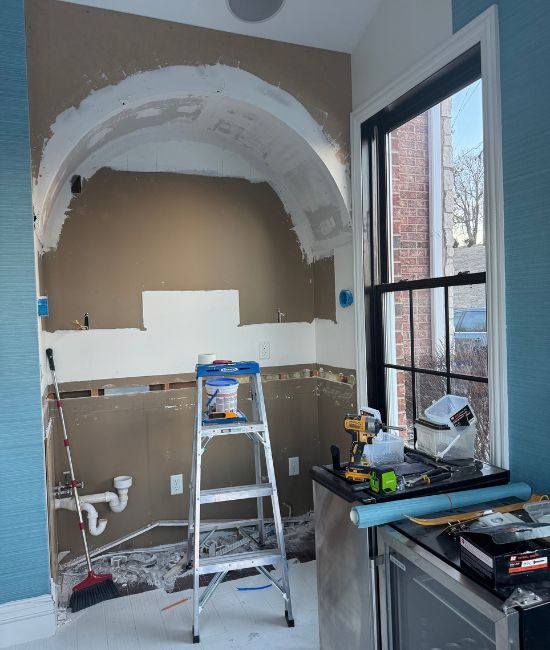
The Bar Before
Our previous owners that built the house took the bar space seriously and had a sink, wine fridge and storage for a legit wet bar. So we didn’t have to do much in that regard.

They just used stock cabinets at the top and on the bottom. Because the window limits the depth, they used uppers for both and the wine fridge was on the side.
There was a custom concrete countertop that was also brown, since brown was their favorite color, to compliment the brown cabinets and, brown floors.
Not to mention the wall color looked like, what I called “Week Old Gauc” — a muddy, dirty green.
All of it had to go.

The Process of Building An Arch
I am sure there are hundreds of tutorials on YouTube and on Socials showing you how to build an arch so I am not going to go into the details of it.
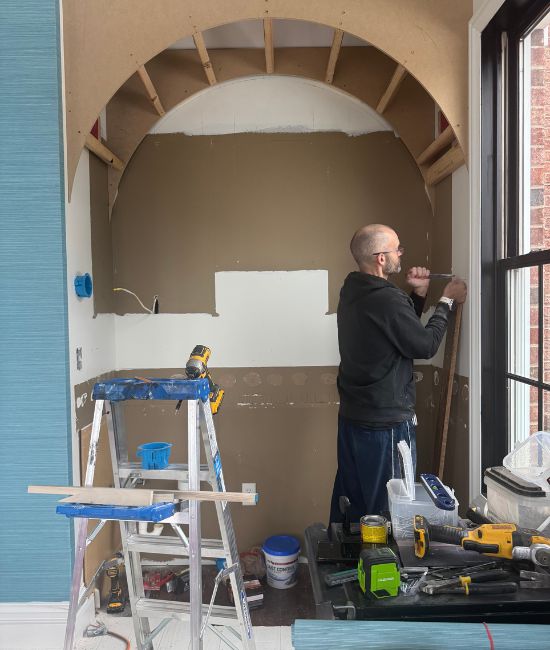
The trick is to build the structure…think of a ribcage and then add the drywall (the skin) over it. This is how most curved consoles, coffee tables etc are made.
Electrical Changes
We did have to add electrical to be able to add sconces and a light fixture on the top (if I ever find one that I love) for additional sparkle. But since there was already electrical in the nook for the wine fridge and plugs etc, it wasn’t like we were starting from scratch.
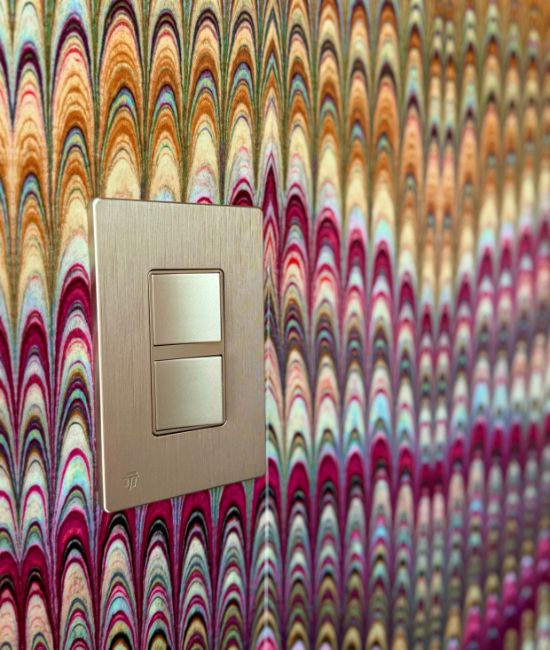
We tried several other types of gold light switches but ultimately settled on these cheap ones, not by choice, but by the limitations of the electric box we had installed.
We also changed out the outlet cover to the same gold tone. I don’t mind visible electrical if it’s gold. It doesn’t even have to be fancy
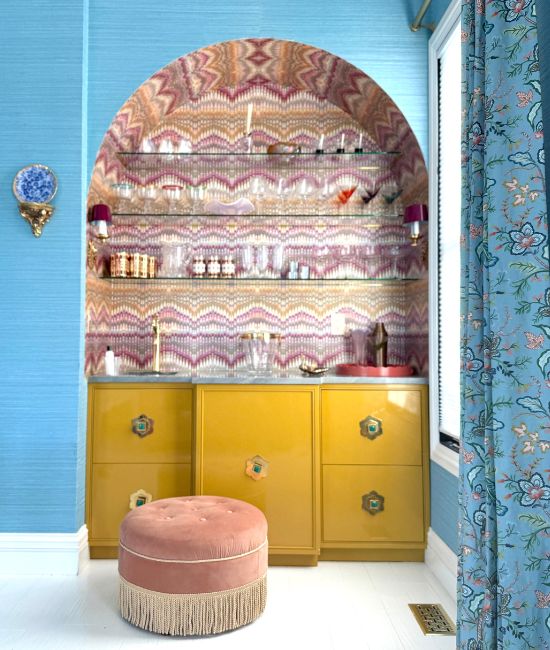
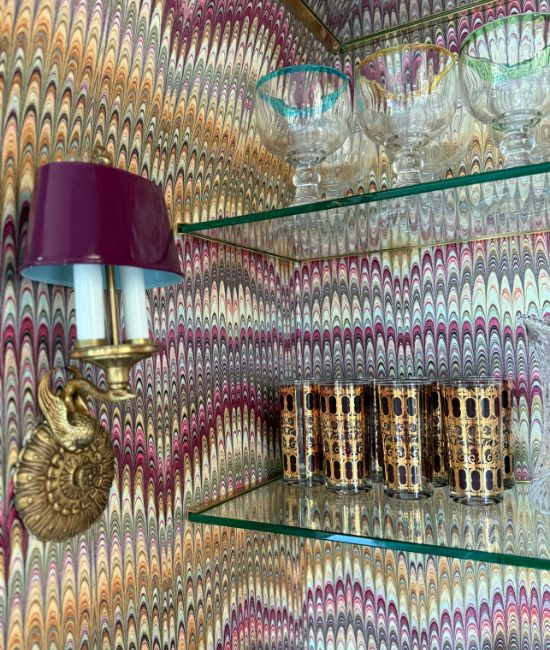
We first added these Pooky Light scones to the sides
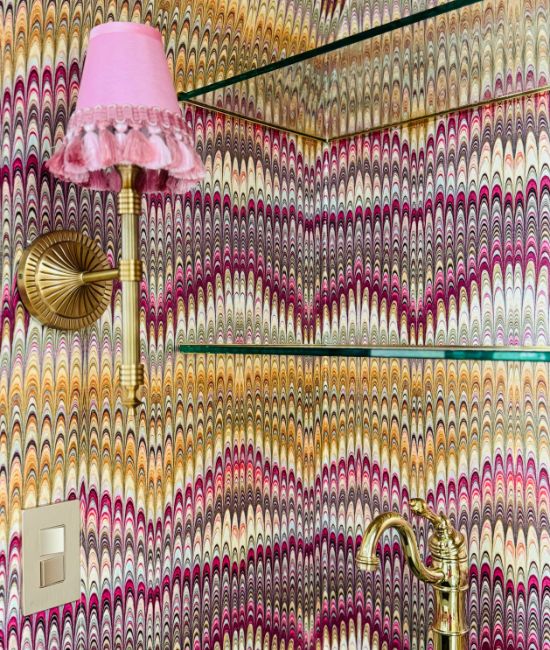
I added these lovely pink shades along with the pink tassel trim.
Then I changed my mind completely when I came across these on Facebook Marketplace and switched the Pooky ones out.
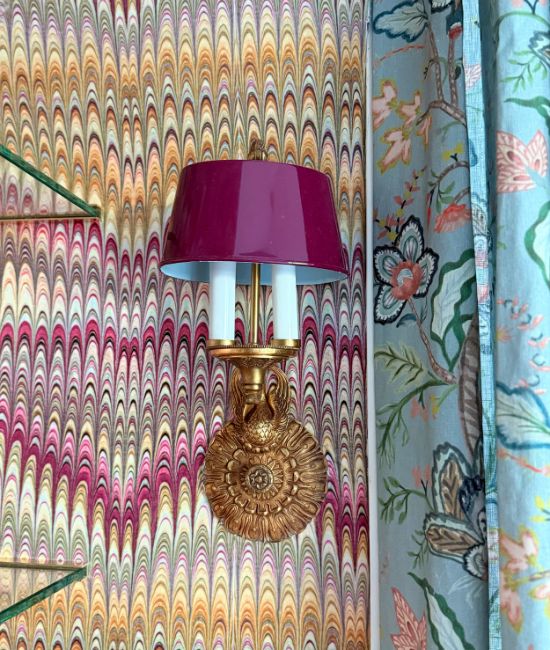
As much as I love my vintage sconces, I do miss the Pooky Lighting ones. I am hoping to use them somewhere, someday.
Custom Cabinets For The Bar
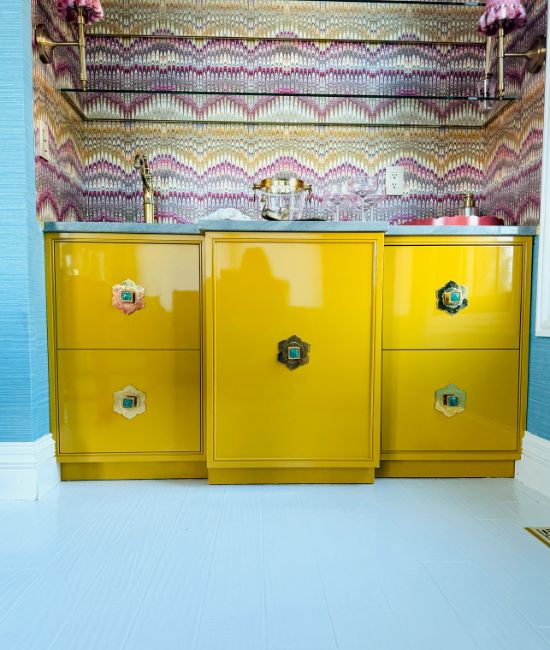
Eric made me custom cabinets that will completely hide the wine cabinet. Also, the cabinet on the right has two drawers but the one on the left is a door made to look like two drawers for symmetry.
Remember, I am a little too attached to symmetry.
Notice that the center (wine) cabinet is full overlay and the side cabinets are inset. You normally don’t see such a mixture of styles but since I wanted the wine fridge completely hidden, inset wasn’t an option.
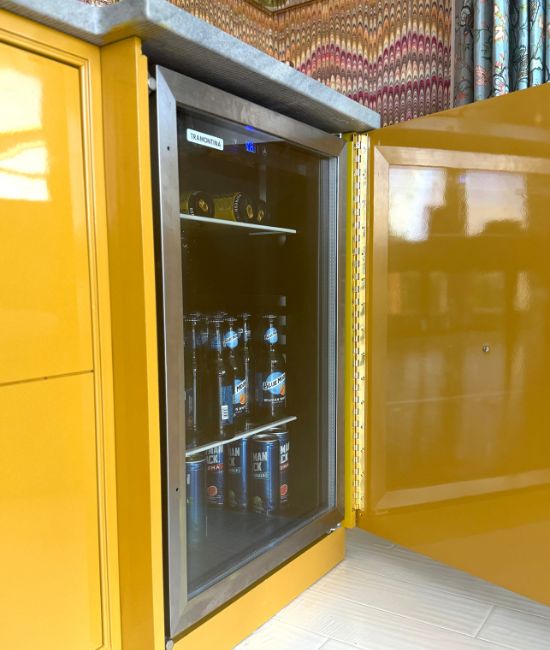
Eric used a piano hinge for the center door.
The whole cabinet functions exactly like it is supposed to and I love it.
The Stone Countertop
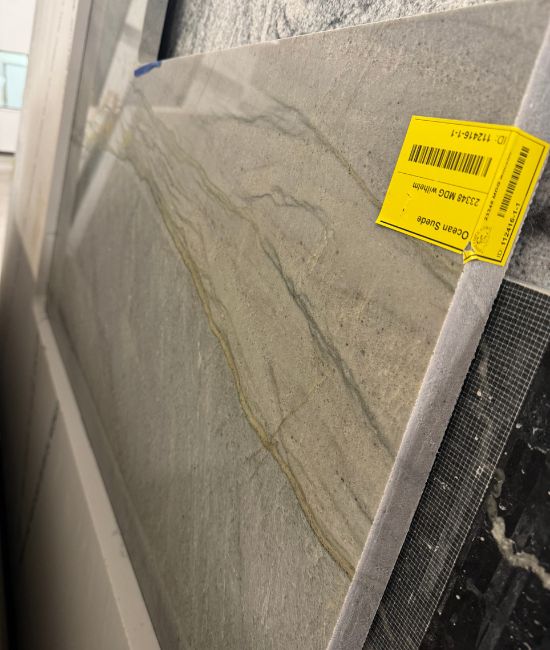
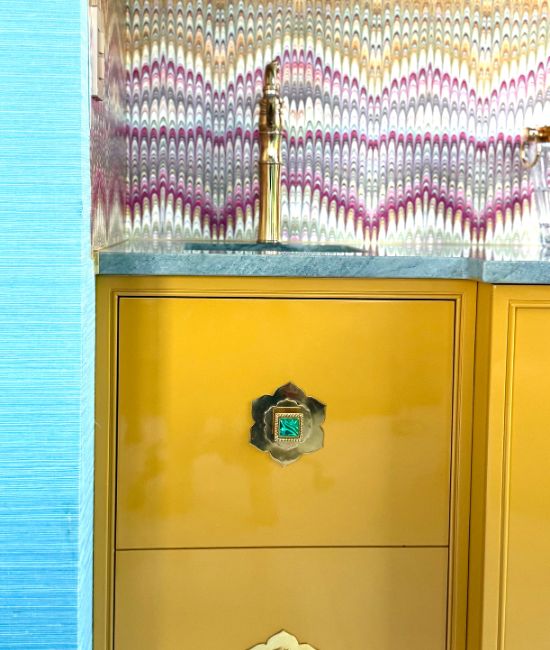
I chose this stone, I believe it is quartz, because it has a few veins of yellow/green/gold in it. The yellow is totally unexpected, yet it’s perfect for the gold/yellow that is everywhere else in the bar.
Stone Fabricators were as usual quick and very professional.
The Brass Faucet
I chose a lacquered brass faucet for this spot. Even though these types of faucets are usually meant for bowl sinks, I used it for a standard sink.
I do like how tall it is compared to most sink faucets.

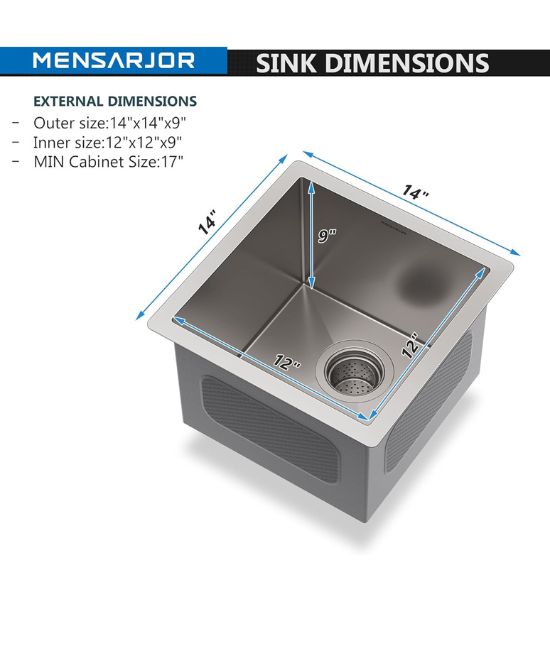
The Sink
I unintentionally chose this extra deep sink. I only cared about its size since we had very limited space available for it. The deep sink might have been a good idea since the faucet is so high.
It prevents the water from splashing all over the counters and the wallpaper because of its depth.
Totally unintended plus of a deep sink, I guess.
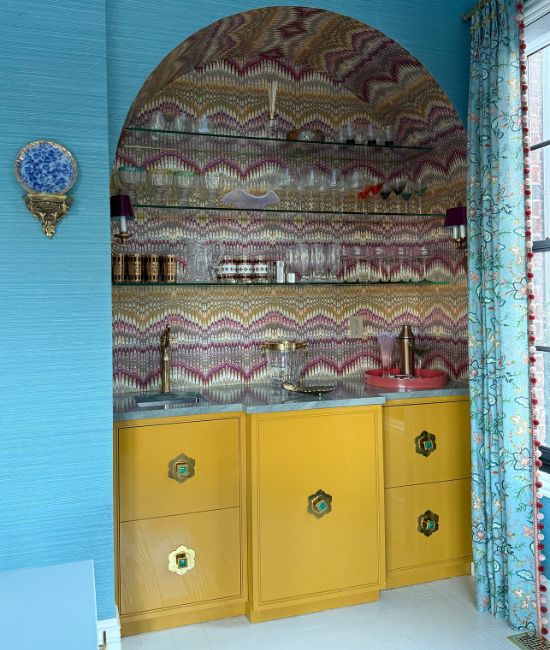
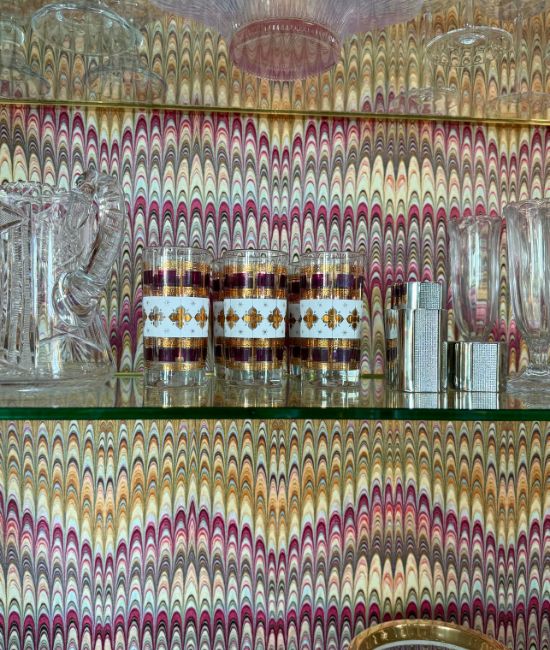
Susi Bellamy Dahlia Plumes Wallpaper
The wallpaper was a love at first sight because it is so so colorful, so gorgeous and has a subtle sparkle in it. It is impossible to see but it is there and I adore it even more for that.
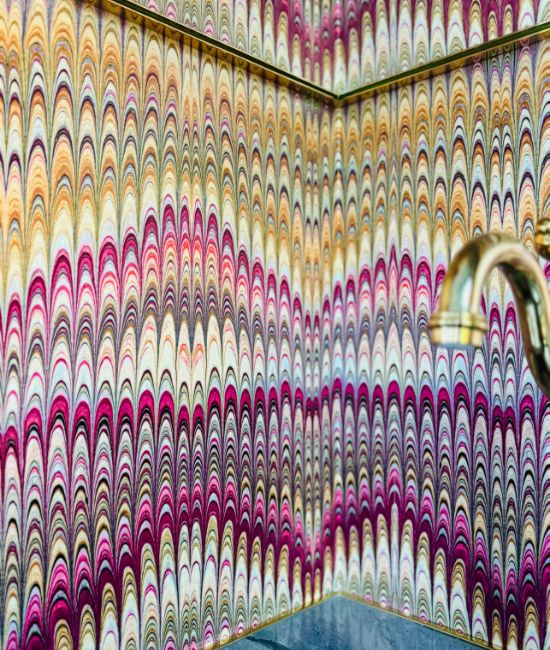
The rolls are not very wide (24″ I believe) so we needed two to finish the project.
The Gold Color On The Cabinets
I chose Ben Moore Goldsmith in high gloss lacquer for my cabinets. I love the mustard-y warmth it has. My original choice of Chartreuse was a little too neon for this wallpaper.
The Hardware
I chose my lotus polished brass backplates in the 5″ and 3″ size layered under the malachite knob.
I love the look of layered brass, it feels so luxurious and over the top!
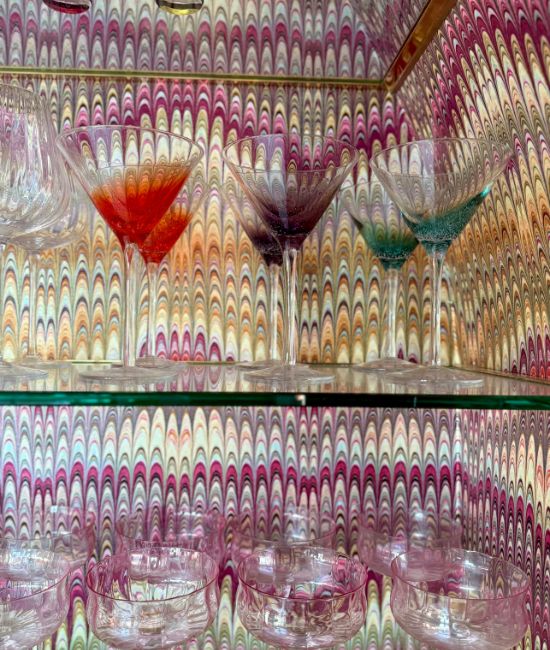
Barware
I had some vintage barware that I found on Facebook years ago, but these ruby colored glasses was the perfect find for the space
I also have various others that are just good old Amazon like these tulip glasses and the margarita glasses.
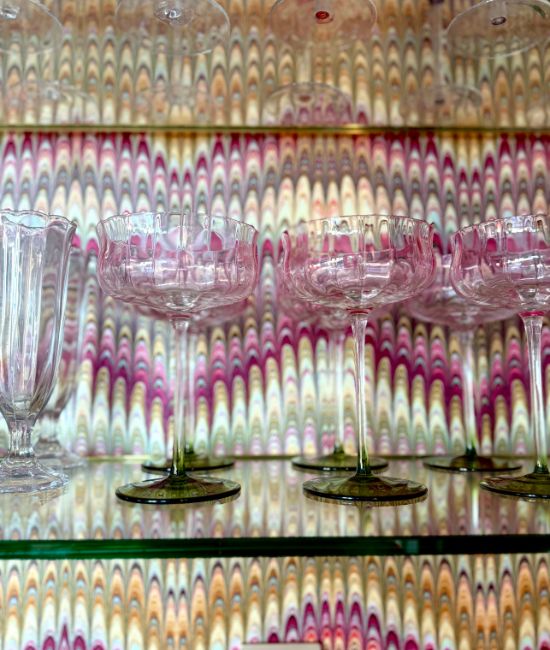
The wine glasses were a Homegoods find.
The colorful martini glasses were a vintage find at a local mall. I have looked everywhere to find something similar but I haven’t come across anything that’s not excessively expensive.
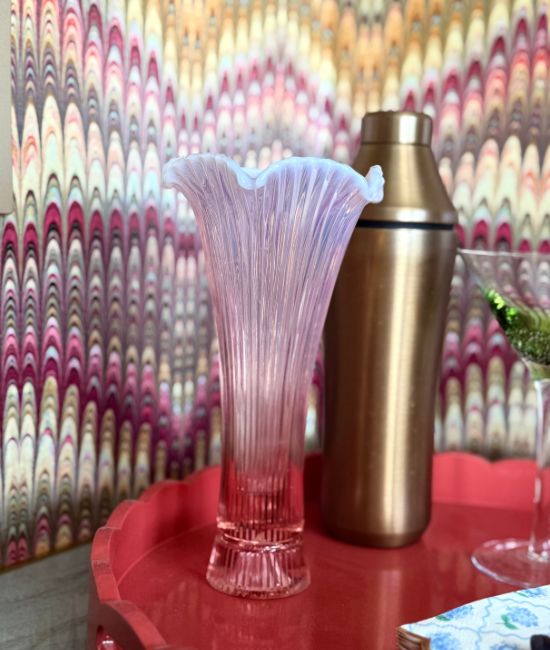
The mixer/shaker is from Elevated Craft and as a cocktail connoisseur, I can assure you that it is the best of the best shaker you can buy.

It keeps the cocktails cold for hours, it’s spill proof, leak proof and simply perfect.
Other Vintage Accessories
A lot of the other accessories are either eBay or from my vintage hunts in antique malls.
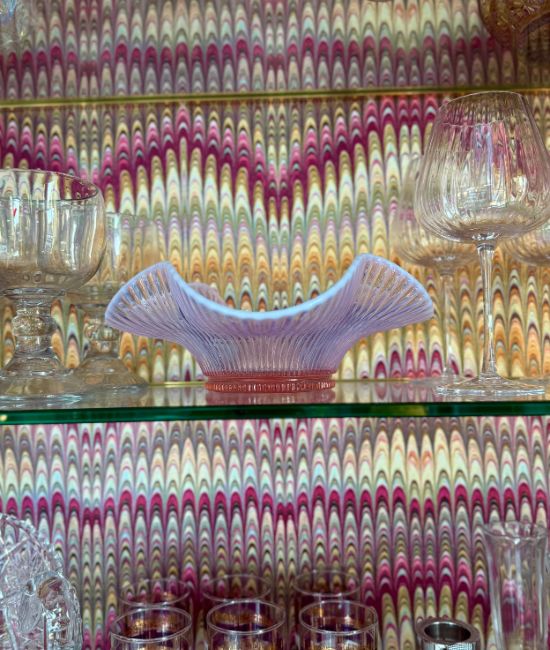
The ice bucket was a vintage find at Warson Woods.
The pink vase and the bowl was an eBay find.
Brass and Glass Shelving
I have blogged about the DIY brass shelves and the process here in this blog post if you want to check it out. I will add the sources to that here as well so you can shop it all in one spot.
Final Thoughts
There was a lot of back-n-forth, indecision, wrong wallpaper, not enough wallpaper, change of plans for the shelving, switching out lighting and all kinds of chaos in the process of this DIY arched bar project.
That is normal for any DIY project, especially done but amateurs like us. So if you are one, don’t be hard on yourself.
At the end I absolutely LOVE the end result and every single choice I made. There is no voice inside my head that wants a minor change here or a big change there.
I would love to be able to find a flush mount light fixture to go at the very top of the arch, but the bar is still complete without it.
I highly recommend adding an arch, if you can, where you can, to add character to your home.
All Sources For The Project
Wallpaper – https://www.susi-bellamy.com/products/dahlia-plumes-wallpaper
Paint Color – Benjamin Moore Goldsmith
Original Sconces – https://www.us.pooky.com/products/wrappling-wall-fixture-in-antiqued-brass
Pink Silk Shades – https://rstyle.me/+Ab8a0m2RhsxPx0zaoN9zHw
Light Switch – https://amzn.to/3HL6Ng0
Wall Outlet – https://amzn.to/4n5GsZ8
Switch plate – https://amzn.to/4mMGULZ
Faucet – https://amzn.to/4lQRvnH
Sink – https://amzn.to/41mO7tB
Brass channels – https://amzn.to/4688f5k
Hardware – https://theresplendentcrow.com/collections/backplates/products/brass-backplate-floral-lotus
Peacock Dish – https://theresplendentcrow.com/products/peacock-dish
Glasses – https://amzn.to/3UKNUwC
Just Pictures