
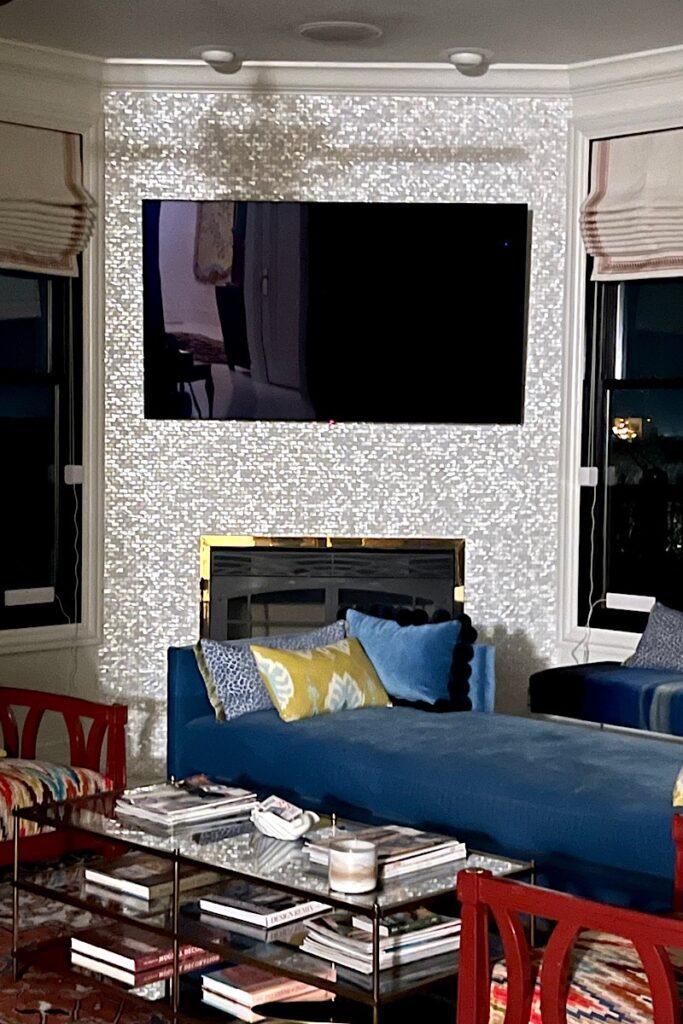
I am a HUGE fan of mother-of-pearl tile as a material for backsplash. I chose it for the kitchen remodel of my first house way back in 2014 and chose it again for the fireplace of our current home (2023).
There is no doubt that I will use it when we remodel our kitchen. It makes perfect sense since it’s an open-concept home & the fireplace across from the kitchen already has mother of pearl.
We DIYed both projects, so I am a pro at this now, so I think. Haha!
Is This Tile The Real Mother Of Pearl Tile?
Yes, the mother-of-pearl (MoP) tile that I purchased is a natural, organic substance. It’s the iridescent layer that forms inside some shells.
You can read more about mother of pearl here.

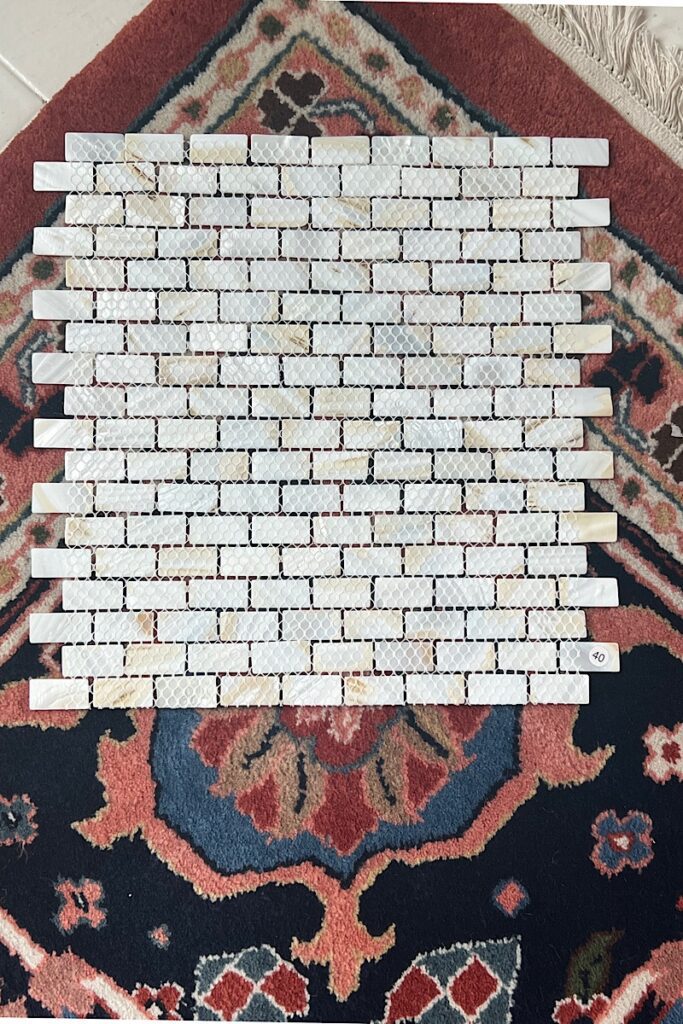
Handcraft wall art of natural mother of pearl tile, as a natural product, the hues in mother of pearl may vary.
The chemical composition of pearls and the mother of pearl is exactly the same. So technically, MoP is like a flat version of a pearl.
It forms naturally, so it’s not a man-made material. This is why MoP has this ethereal, soft, iridescent luster to it. It is absolutely gorgeous! Can you tell I truly love it?
Where To Buy It?
Believe it or not, we bought it off of Amazon both times. I am not sure if Amazon is the cheapest or best source, but it was the quickest source.
There were plenty of positive reviews, which gave me a lot of confidence. Also, plenty of stock was available to purchase, which made life easy. This was a big deal back in 2021 due to supply chain issues.
Mother Of Pearl Backsplash – House 1
I dislike subway tiles. There! I said it. I can’t stand it, and in my opinion, it’s overdone and overrated. There was no way I was going to use it in my kitchen.
Marble would’ve been an option, but I was concerned that the cool, blue undertones of marble would clash with the warm undertones of quartz countertops.
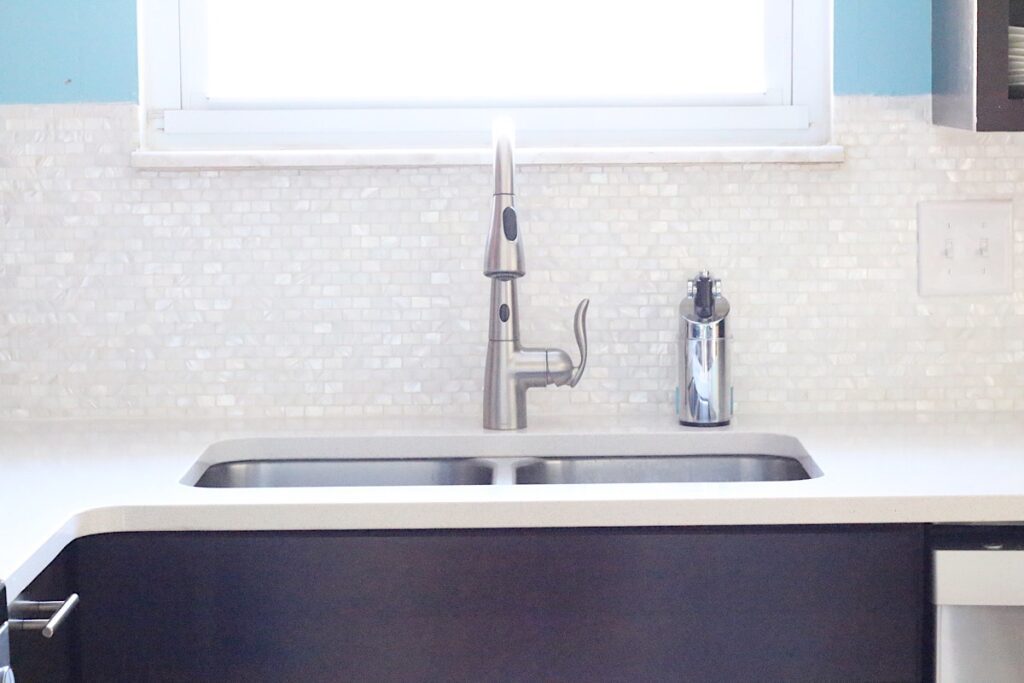
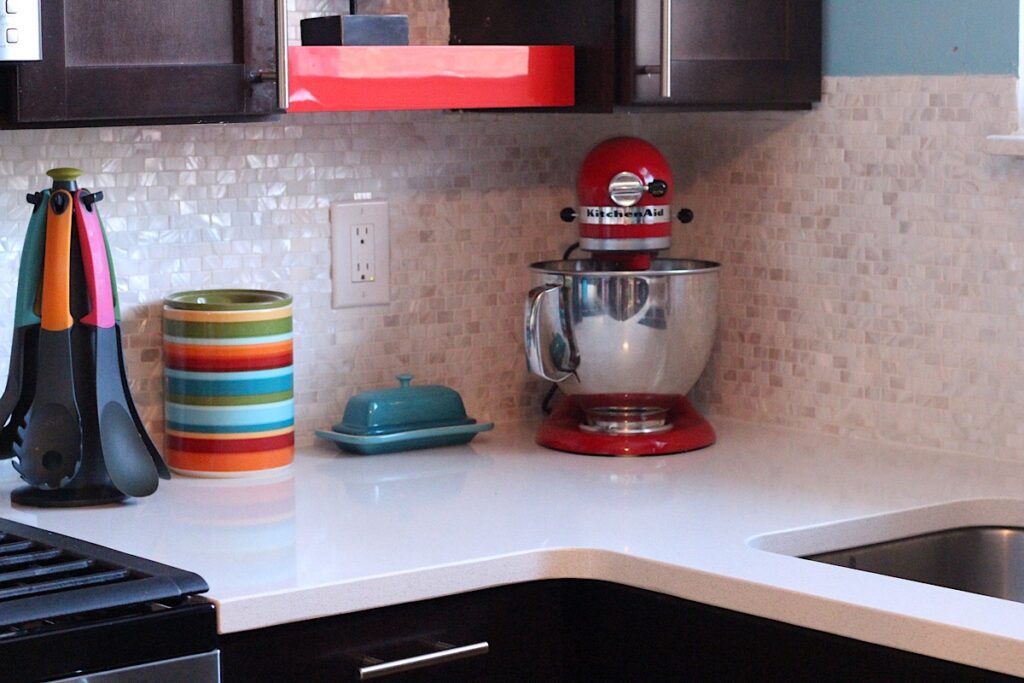
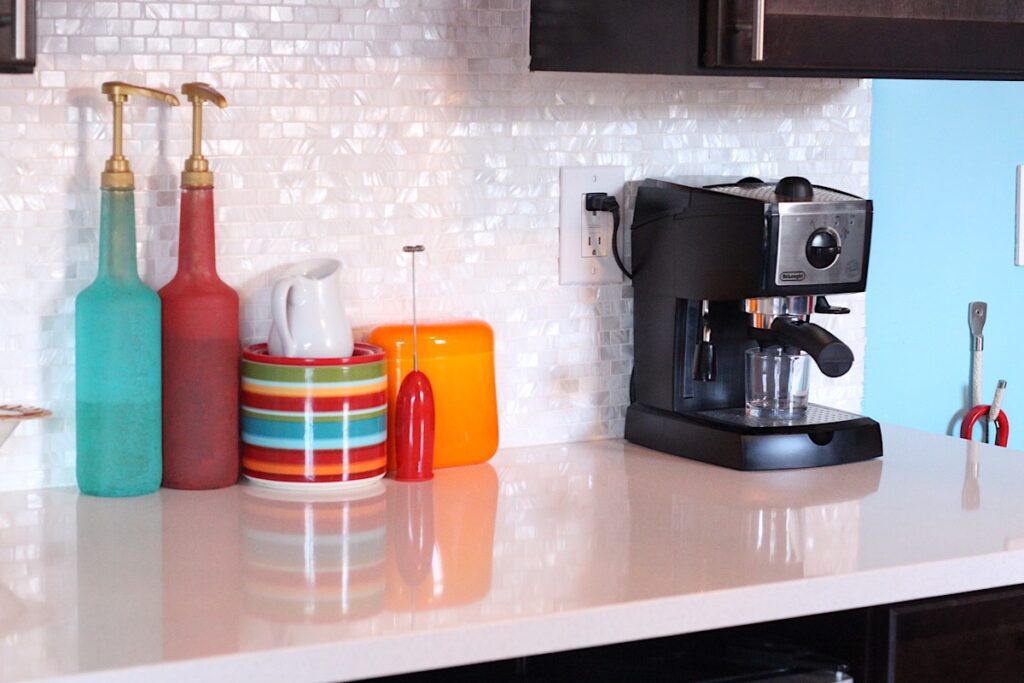
I wanted that creamy warmth in my backsplash, so MoP was a natural choice. I also wanted something that would offer a plain but not boring canvas for my wild color choices.
Let’s take a moment to admire the glorious “Before” with purple walls!
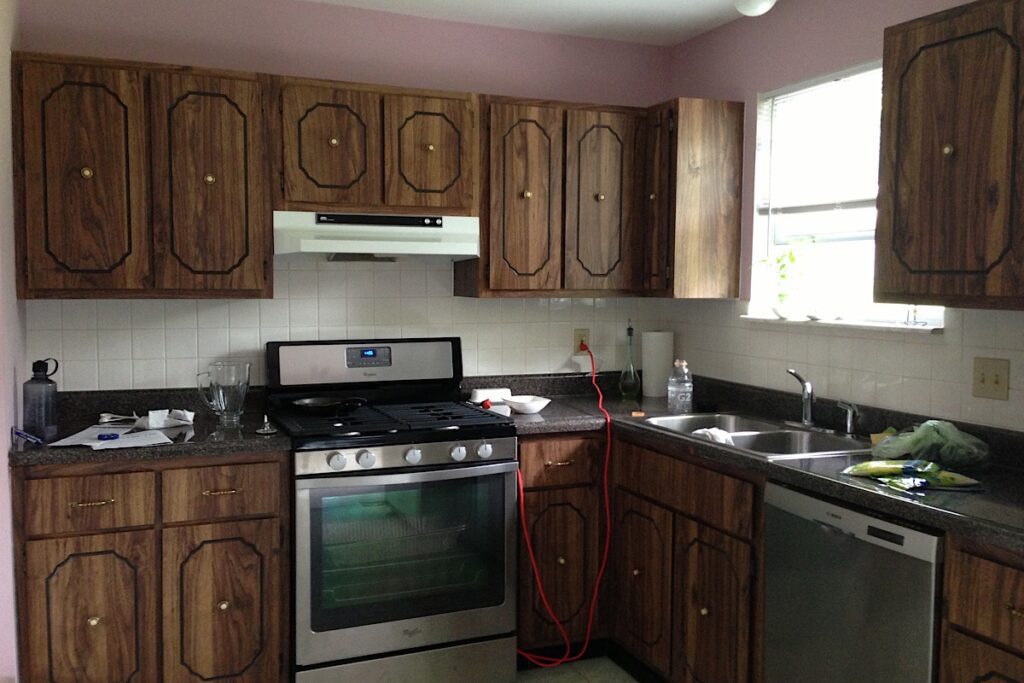
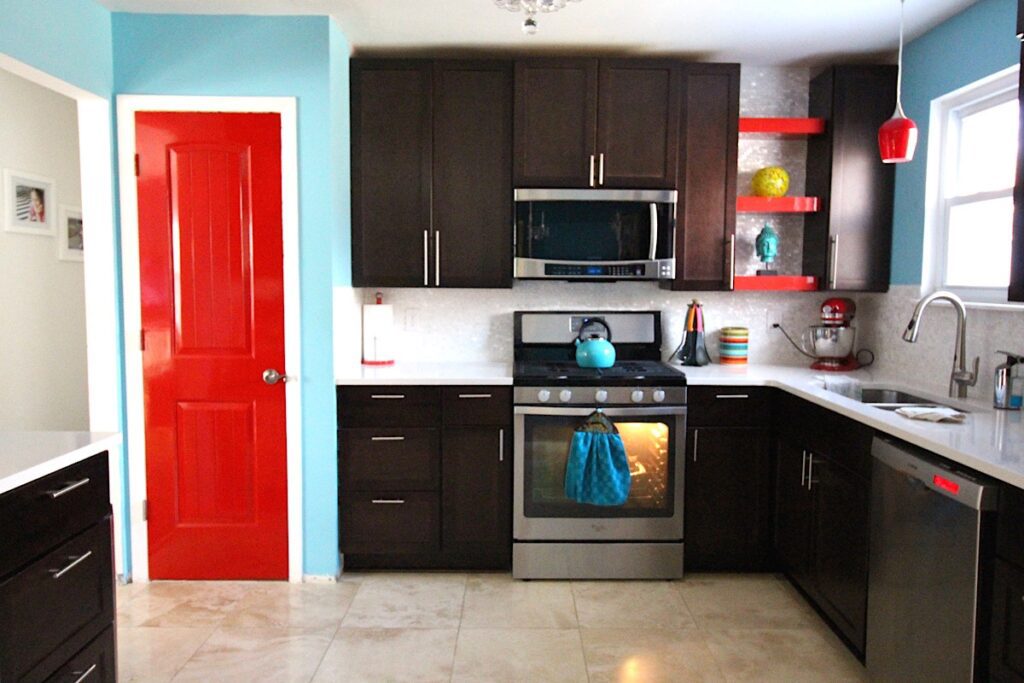
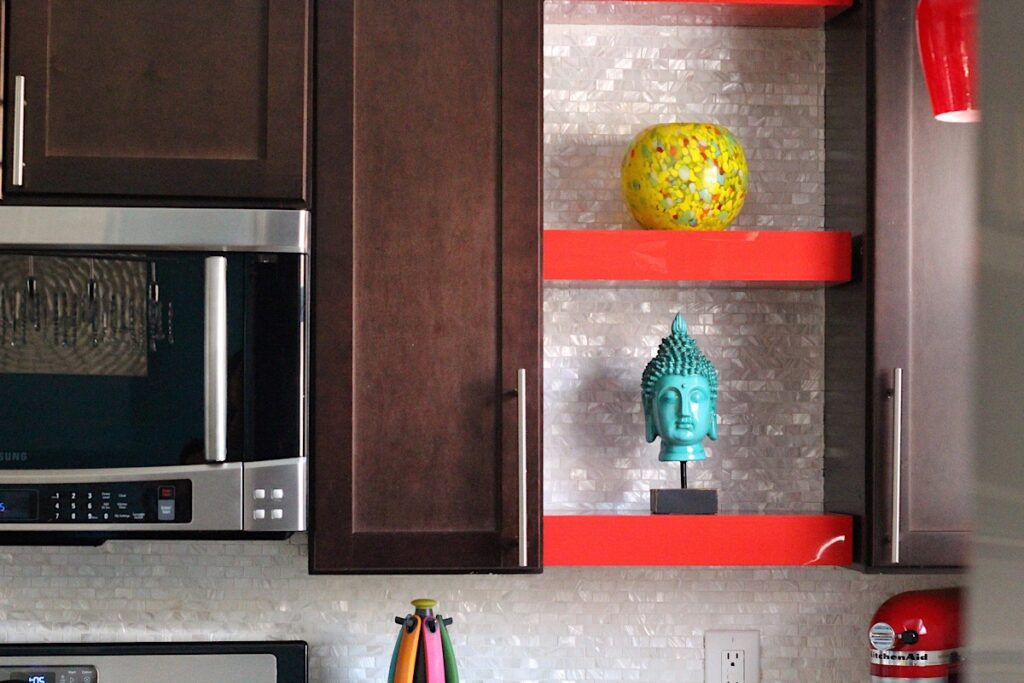
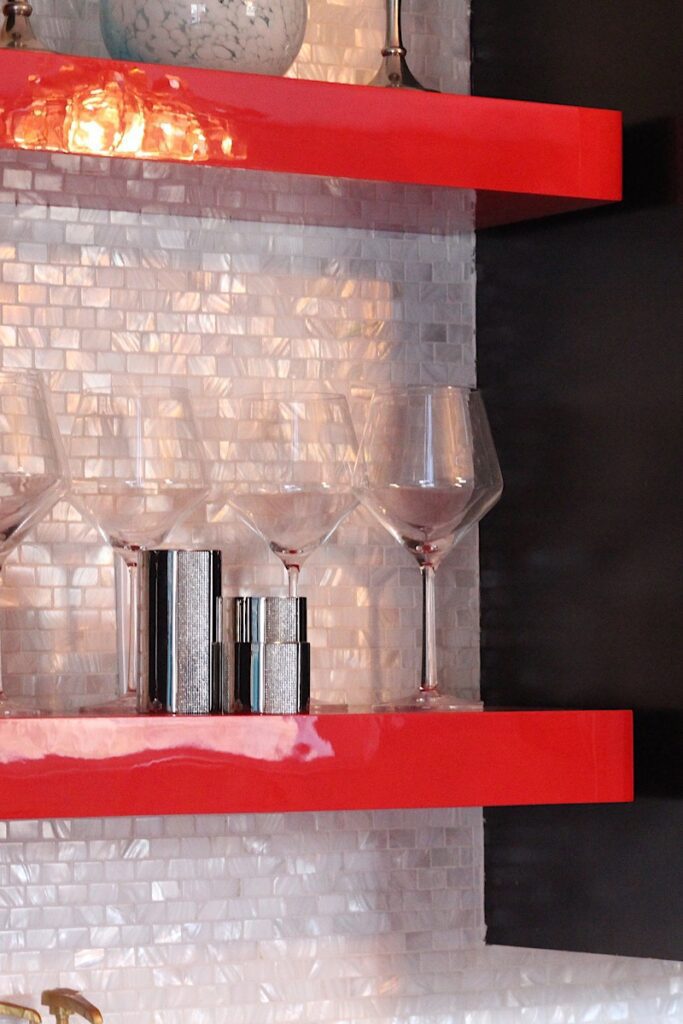
As you can see, I chose to have open shelving in two spots in the kitchen. I love the look of it because it breaks the monotony of brown wood.
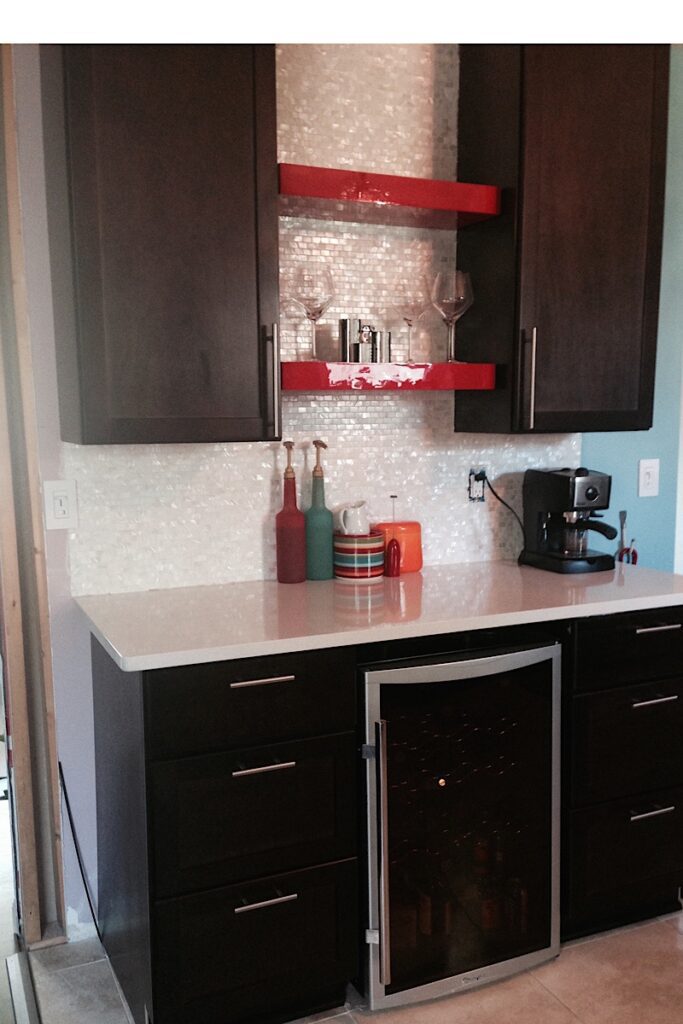
It also gave me an opportunity to add bold color, but that meant we had to take the backsplash all the way to the ceiling. That was an expensive project as a result.
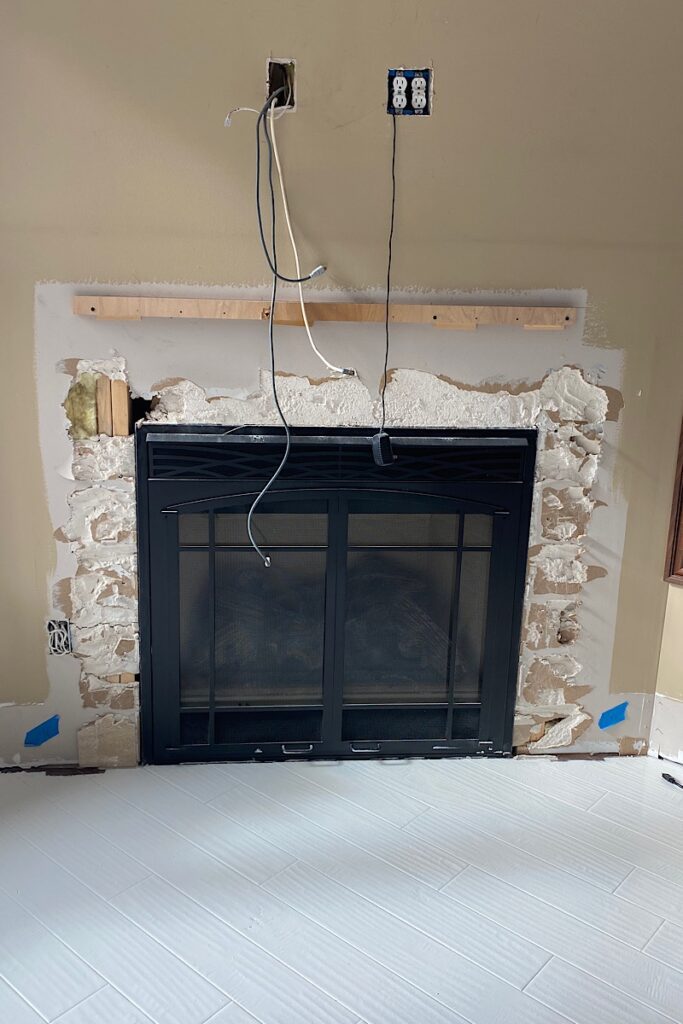
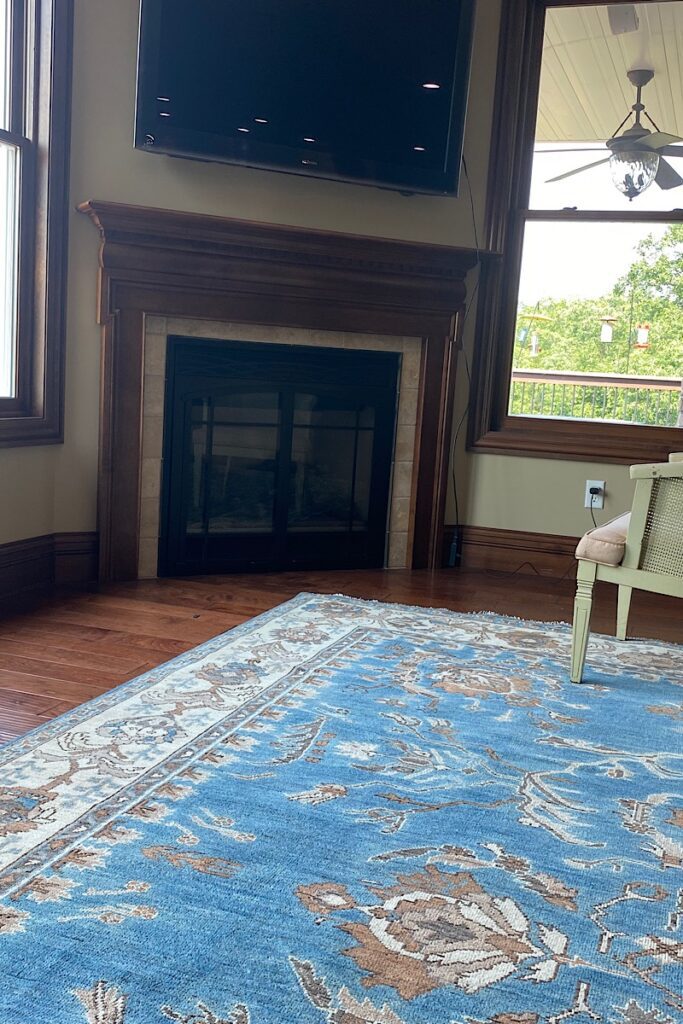
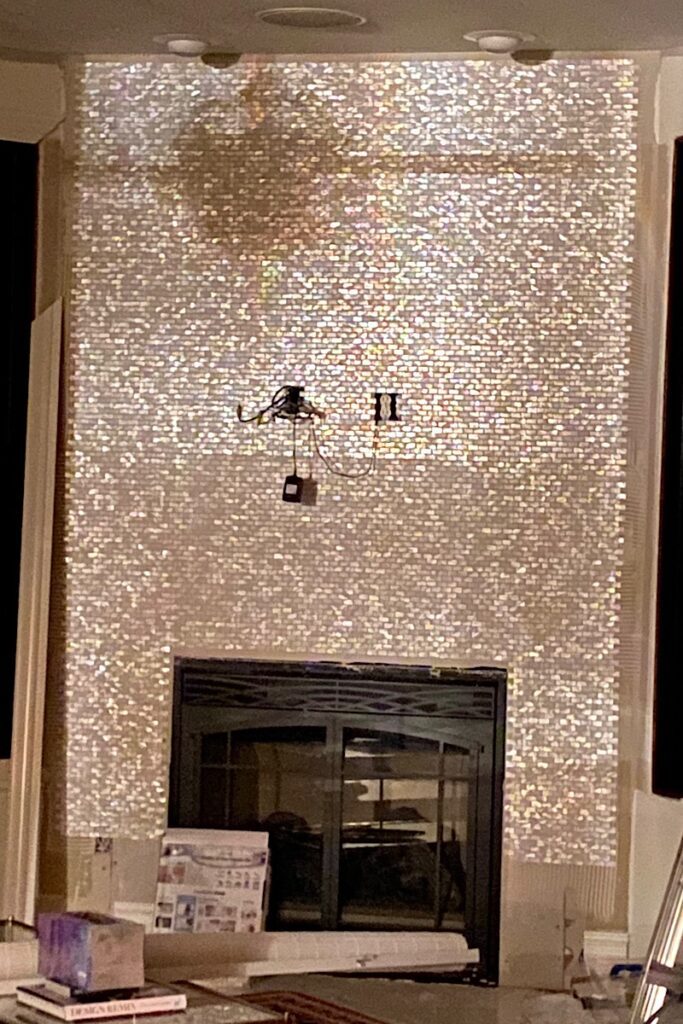
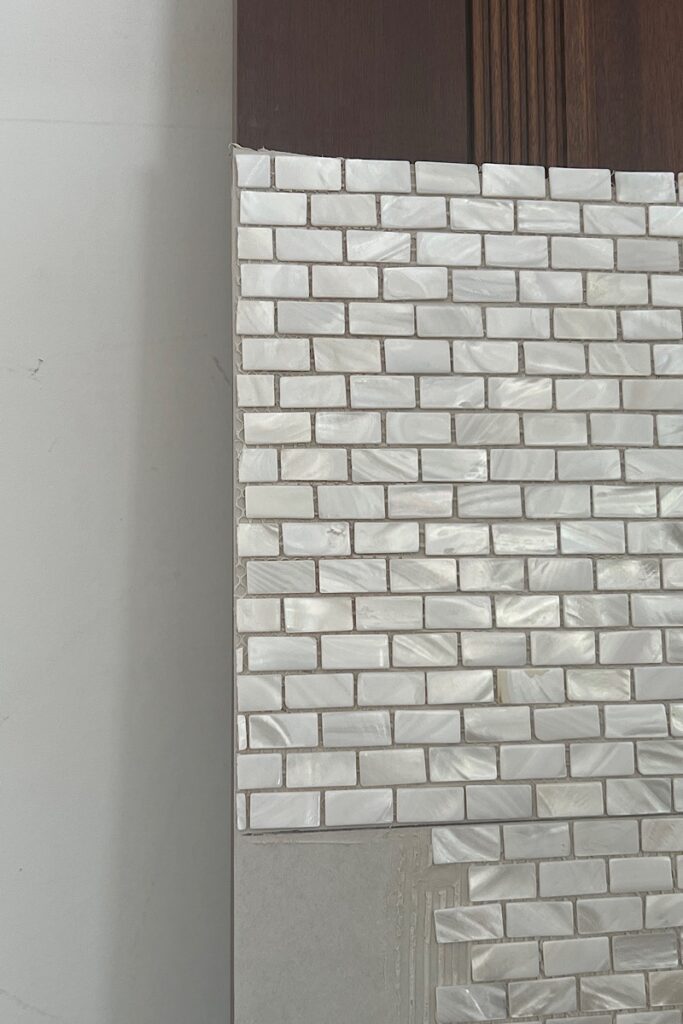
Mother Of Pearl Tile Fireplace Wall – House 2
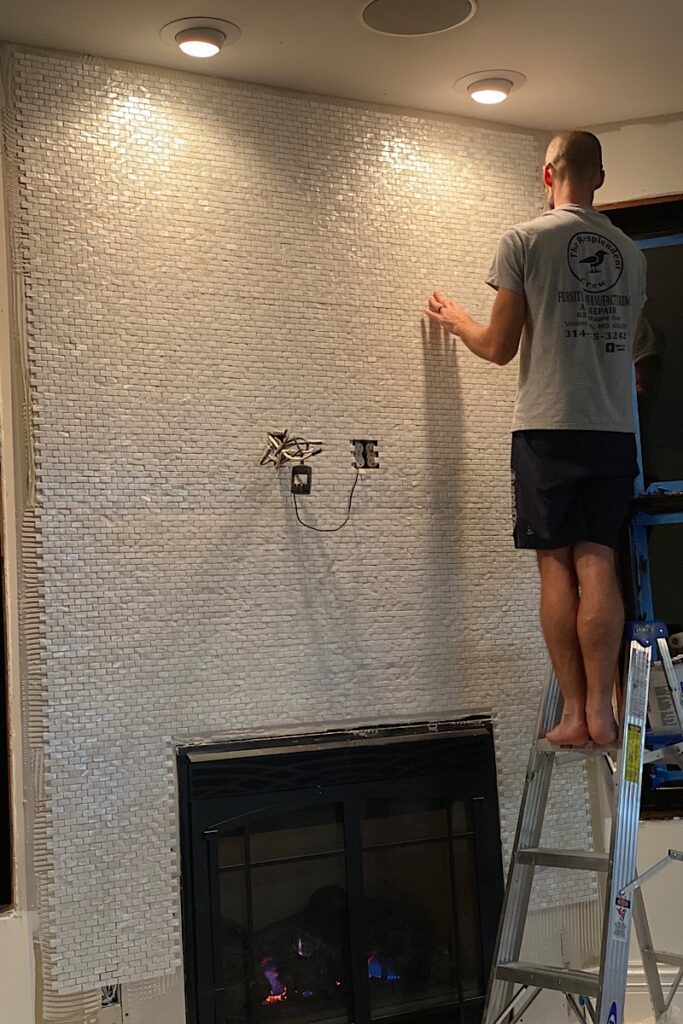
How To Lay Mother Of Pear Tile
Laying mother-of-pearl tile was actually really easy. Why? Because they are super thin and, as a result, ultra-lightweight.
We remodeled our first kitchen, and we chose 18′ X 18″ travertine tile for the kitchen floor. That, my friends, was a back-breaking project.
Compared to that, laying mother of pearl is a piece of cake! I will sign up for that project any day!
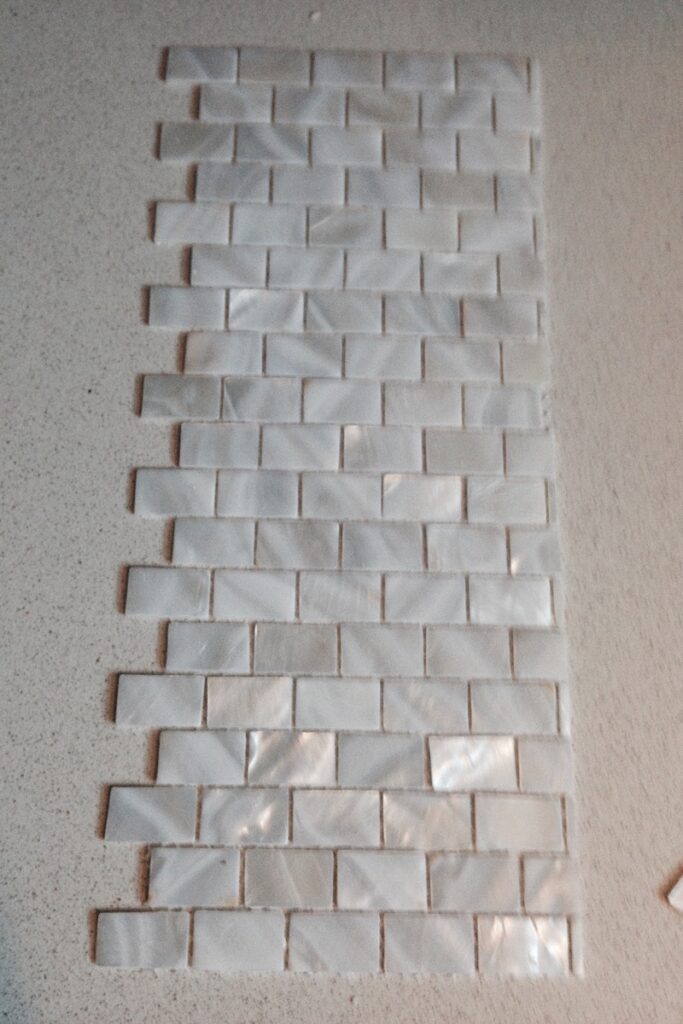
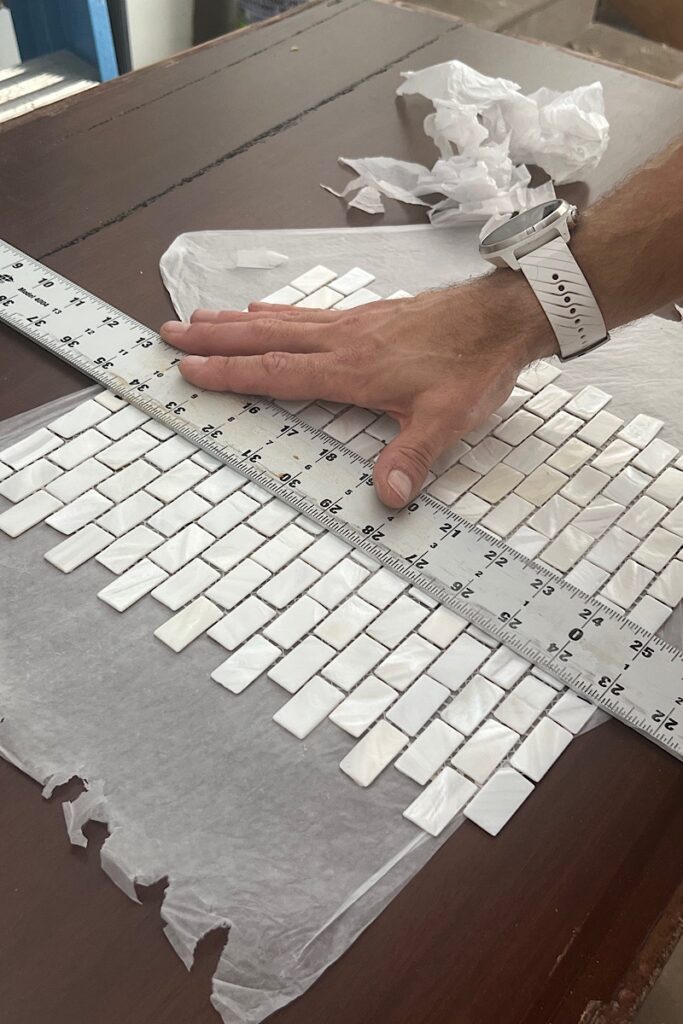
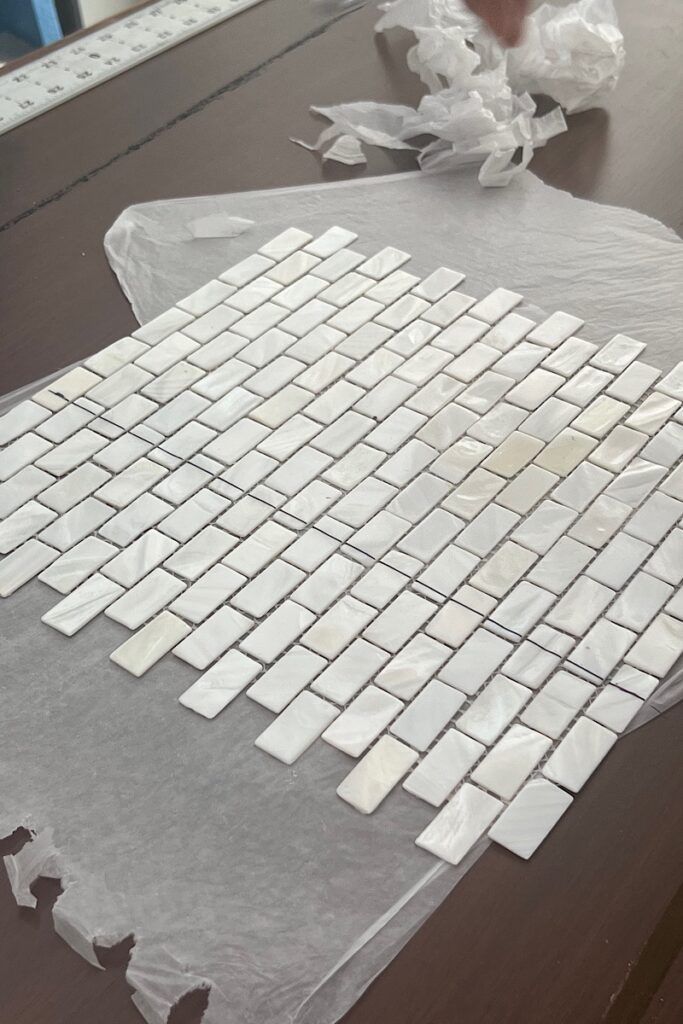
Let’s look at the tile sheet itself. The 12″ X 12″ tile is a collage of many tiny tiles attached to a flexible net-type material. It does not hold any shape, unlike a normal tile.
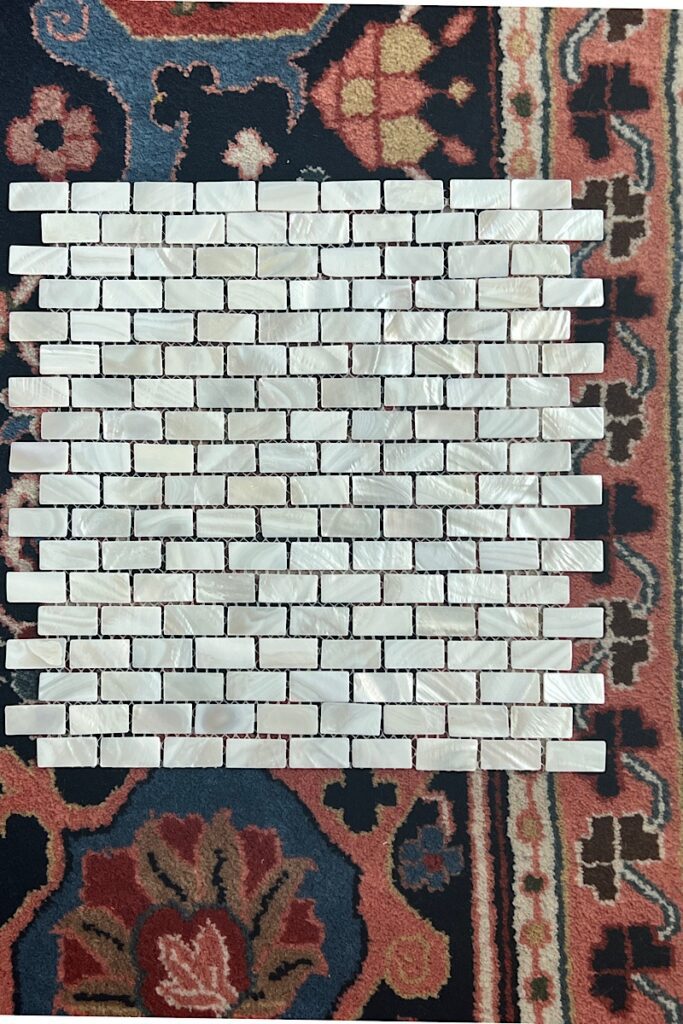
Since both sides are “incomplete,” you will cut a lot of little tiles.
Tools & Other Supplies You Will Need
The tools required for this project are pretty minimal, and they are all available on Amazon, The Depot, or wherever you shop.
You don’t need to rent a tile saw!! How cool is that? Also, do not use any Dremel type of tool to cut the tiles. If you do, it will smell like burnt hair.
Tile Adhesive
Nothing fancy about this one. It’s a tile adhesive. It shows up quickly and gets the job done.
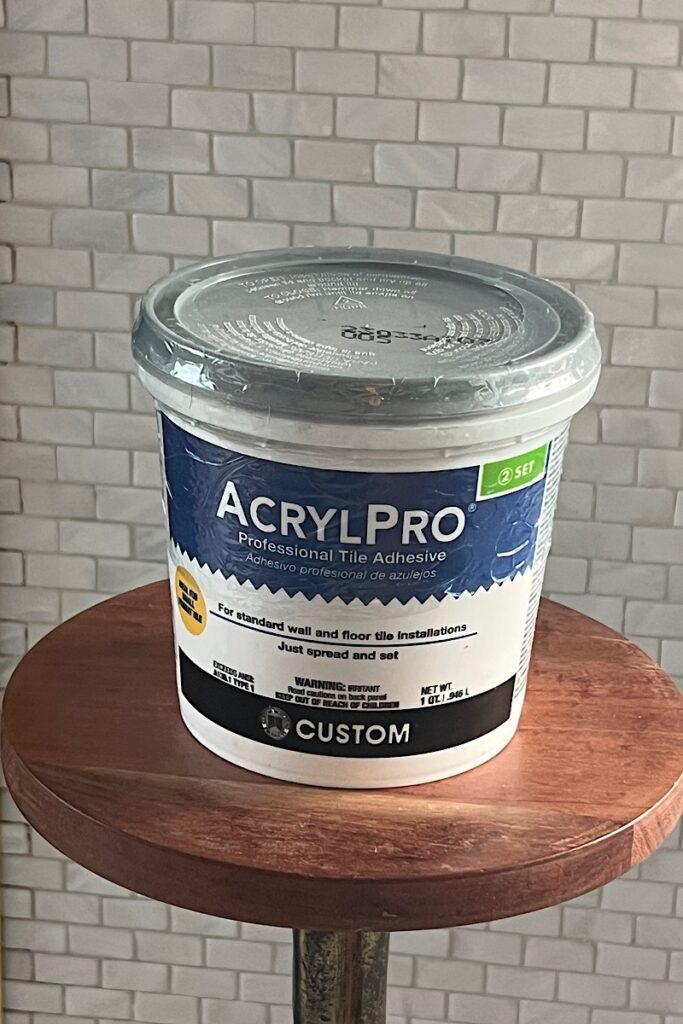
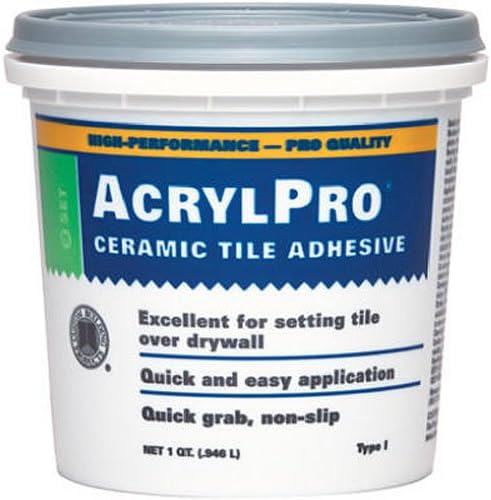
AcrylPro Ceramic Tile Adhesive is a high-performance, professional formula adhesive with the high bond strengths required for 12" x 12" ceramic floor tile installations.
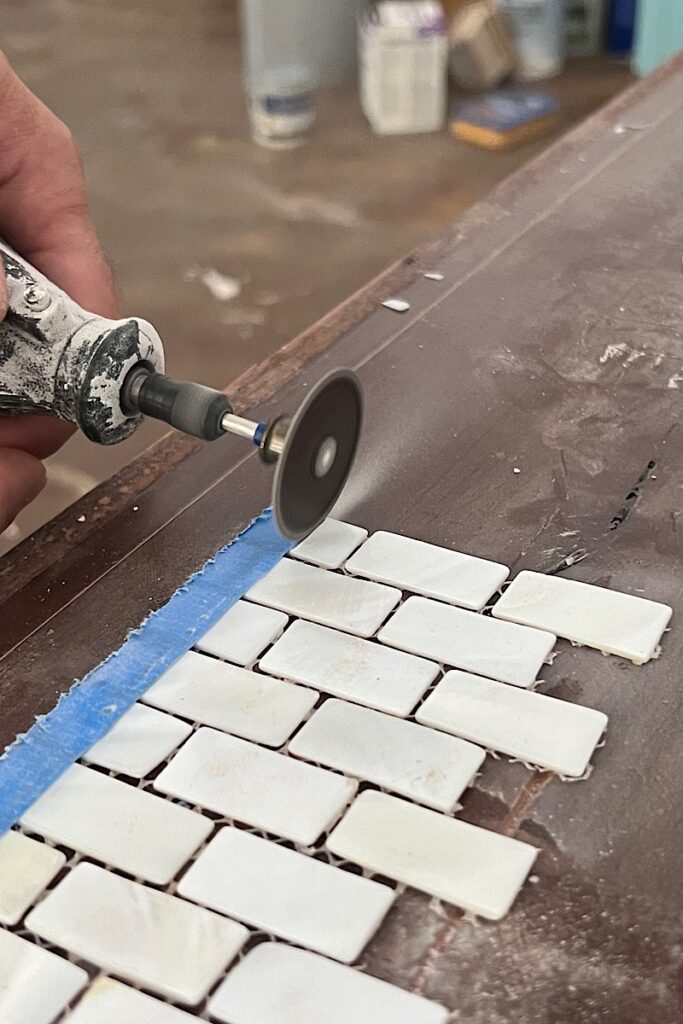
Dremel Rotary Tool To Cut The Tile
We tried two other tools, and this one was the winner. It cuts the cleanest, most accurate lines. It’s not the fastest tool, but it makes the tiniest cuts and causes least amount of chipping/waste.
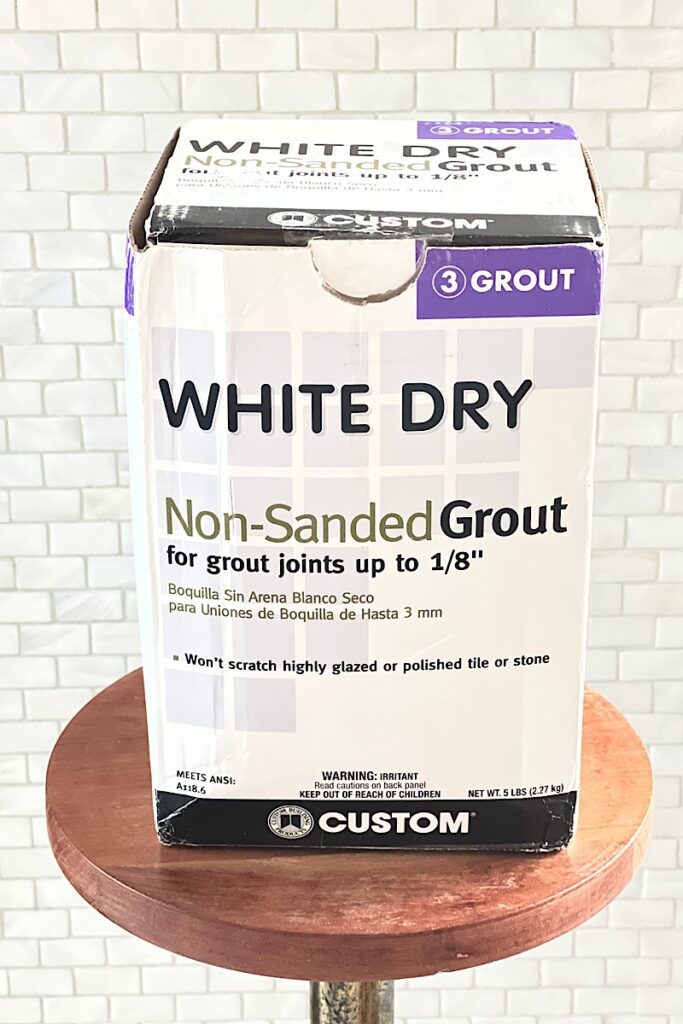
Non- Sanded Grout
You want the grout to be super fine and non-scratchy. Sanded grout will scratch the mother of the pearl. It is not fun to buff out the scratches. We made that mistake, so you don’t.
Sponge To Wipe Off Excess Grout
It’s just your typical tiling supply sponge. You can get it anywhere.
A Piece of Scrap Wood
We used this to make sure that all little tiles adhered to the mastic. Since the tiles themselves have no heft, you need something to ensure even adhesion.
Straight Edge
This is useful not just to mark the walls but also to guide your Dremel tool so it doesn’t go all over the place.
Leveler, Blue Tape, Bucket For Water, Safety Glasses
The water bucket is self-explanatory. Safety glasses are essential because the pearl shards want to fly everywhere, including your eyes.
Step 1. Make Sure Your Surface Is Fairly Flat
The area to be tiled has to be very flat. This is a very important consideration. Prep is the most important step in any project, but this project needs a very flat surface.
Mother of pearl tile is only 1/8″ thick. The mastic ( tile adhesive) is applied with a 1/16″ trowel, so it’s a very minimal amount of mastic on a very thin, flexible tile.
Combine that with the soft sheen of the tile, and you have a perfect recipe for wavy, ripply tile application.
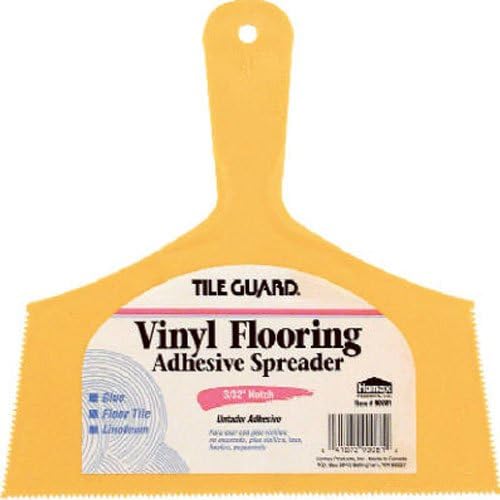
8" Adhesive Spreader Knife, With 3/32" Notch For Vinyl Flooring & Floor Tile, Longer Reach, Reinforced Handle & Trowel Design Beveled Edges For Easy Corner Access.

Perfect for one-time project uses such as spreading tar, adhesive, roof caulking, wood putty, or other difficult-to-clean materials.
This can be an eyesore, especially if you apply the tile over a sizable vertical area, like a fireplace wall.
You won’t notice the unevenness until the project is done. Most surface imperfections will only be obvious when the light hits it at a certain angle.
Having a flat surface is very important!
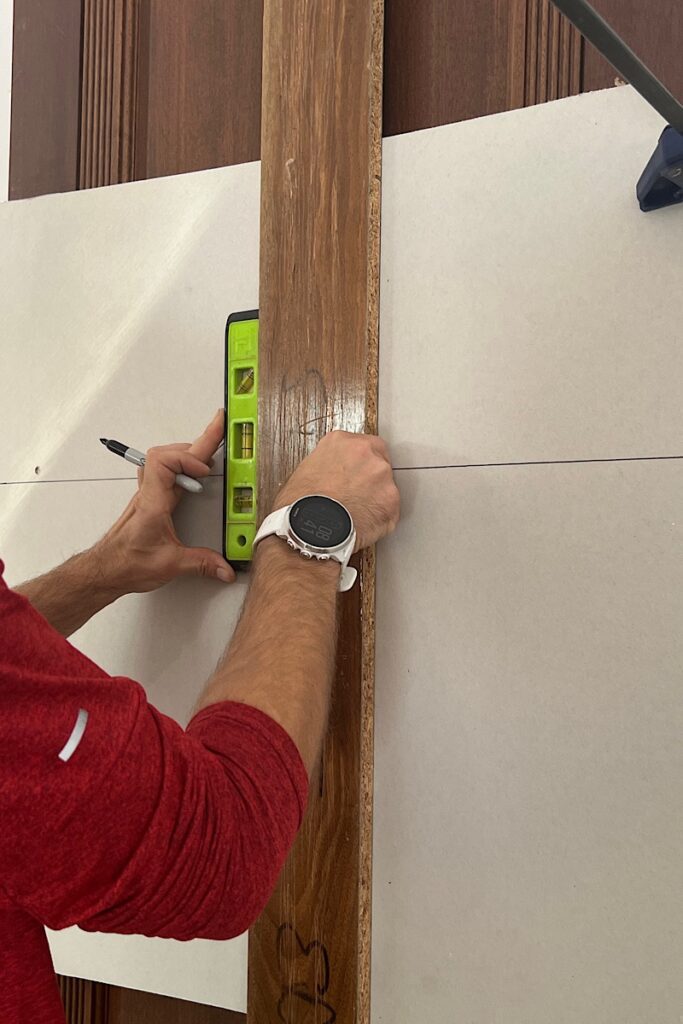
Step 2. Use A Leveler To Draw Straight Lines
Walls are almost never straight. You don’t want to rely on them to provide an accurate starting point.
Start by establishing a 100% level line. If you are doing a large wall, then a horizontal and a vertical line is needed.
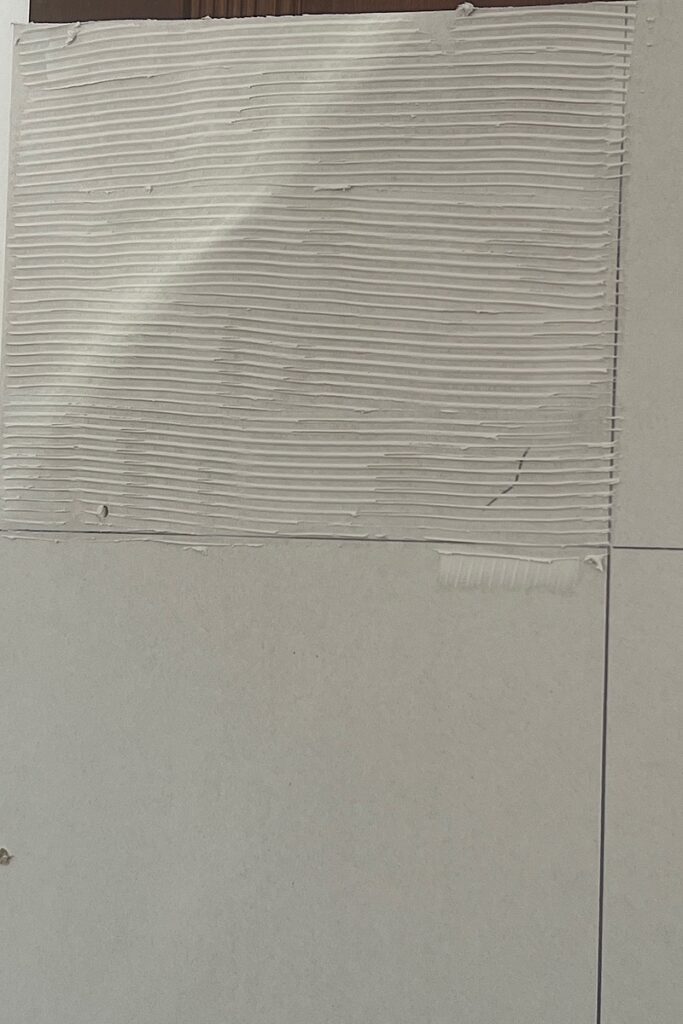
Step 3. Apply The Mastic
Choose any quadrant to start. It doesn’t matter. Use the 1/16″ spreader to spread the tile adhesive. Don’t overthink the layout. You will be cutting a lot of little tiles.
Apply a thin layer of mastic using the 1/16″ adhesive spreader.
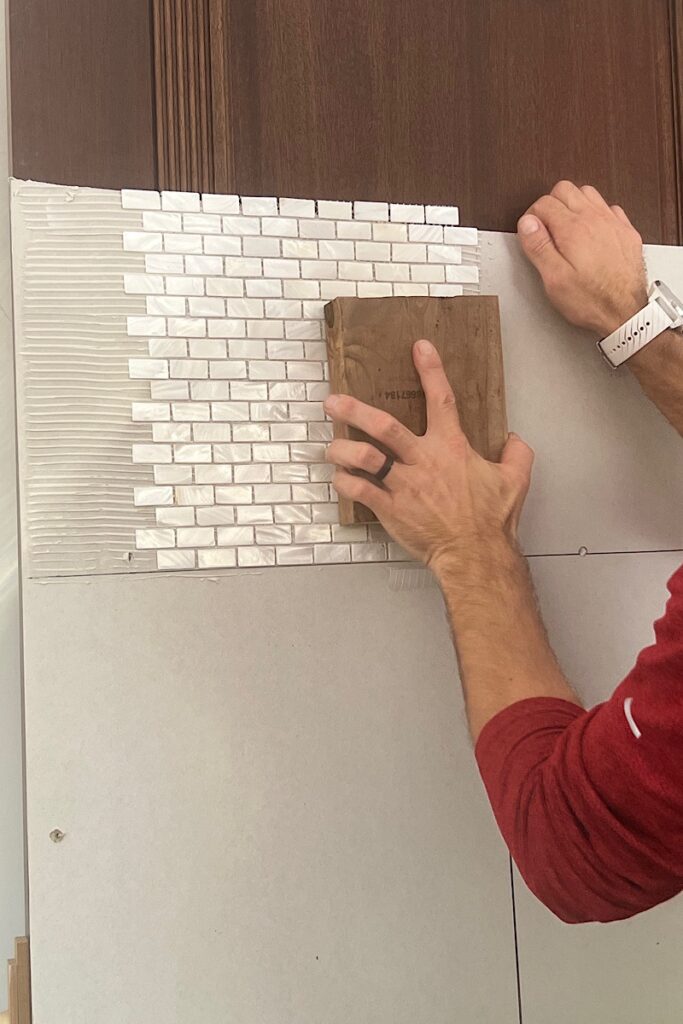
Step 4. Lay The Mother of Pearl Tile
Lay the tile and use a small block of wood to press the tile (gently) to ensure a flat, even application.
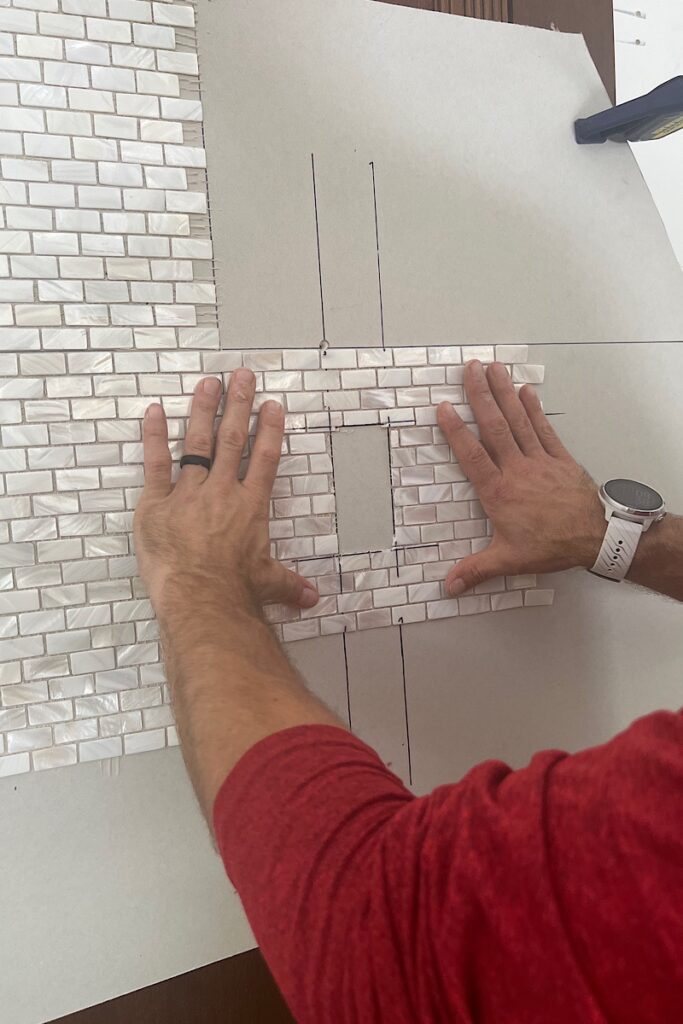
Step 5. Map & Cut Your Tiles As Needed


The Palm Beach spindle table will surely add charm to any well-furnished room. Its round top provides enough space for small accessories such as keys, remote control, or a drink. Easy to assemble with no tools needed. Perfectly sized to fit as a side or end table.
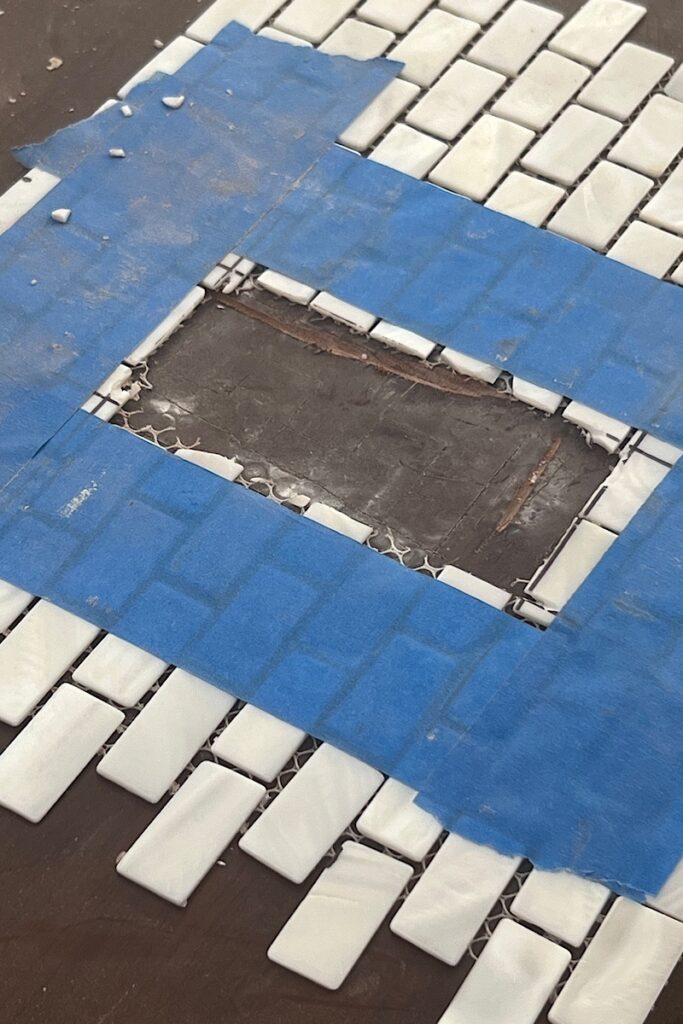
Step 6. Cutting For Outlets
Electrical outlets are 3″ X 2″ generally. Switch plates vary. Map by overlaying, put blue tape around it to help the tile cut clean.
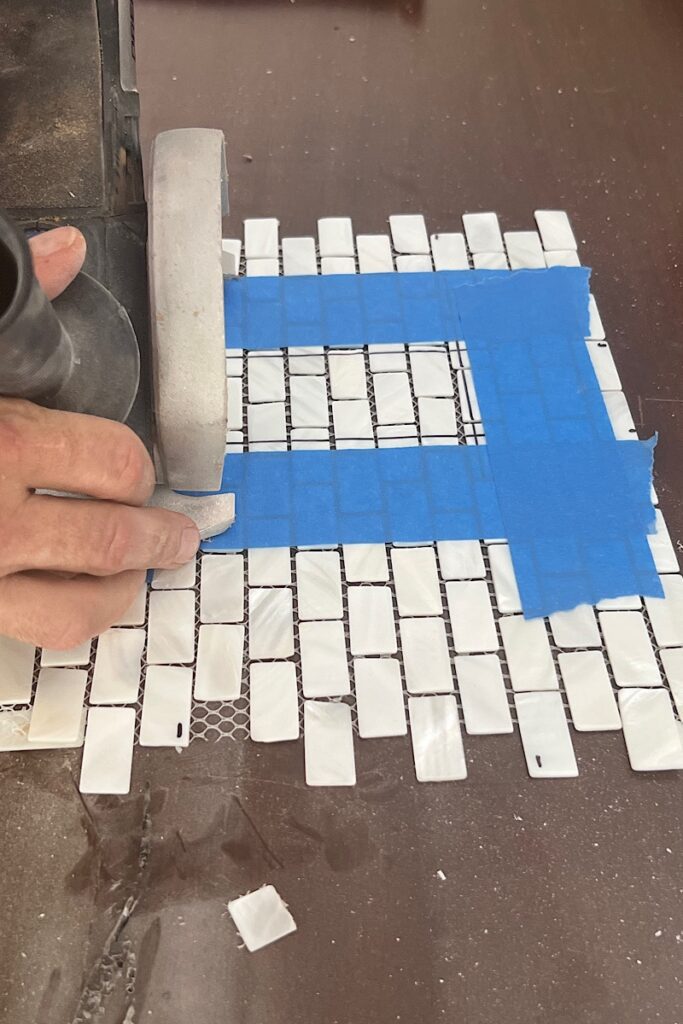
You can afford to have jagged cuts here, on the inside, because they will be covered by the switch plate.
Step 7. Grouting
Apply grout with a trowel. Use the sponge to remove the excess grout and rinse.
Step 8. Clean & Polish
Cleaning your tile thoroughly is very important because the slightest bit of residue will diminish the soft glow of the mother of pearl.
The glow is the whole reason why you wanted it in the first place, so be sure to get rid of all the grout and make sure your tile feels like a baby’s smooth bottom.
*Mother of pearl scratches easily, so do everything you can to prevent it from happening*
Final Thoughts
Mother of Pearl is a beautiful natural element that adds dimension to my all-white walls. I adore it very much!
- Mother of pearl tiled backsplash (and fireplace wall) is a pretty easy project.
- It’s a natural element with a lot of dimension to it.
- You will never get tired of its beauty. It is just too pretty, in my opinion.
- It elevates the look of the space.