
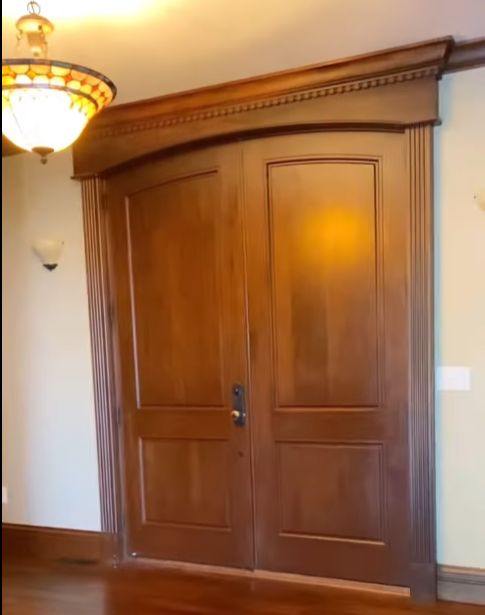
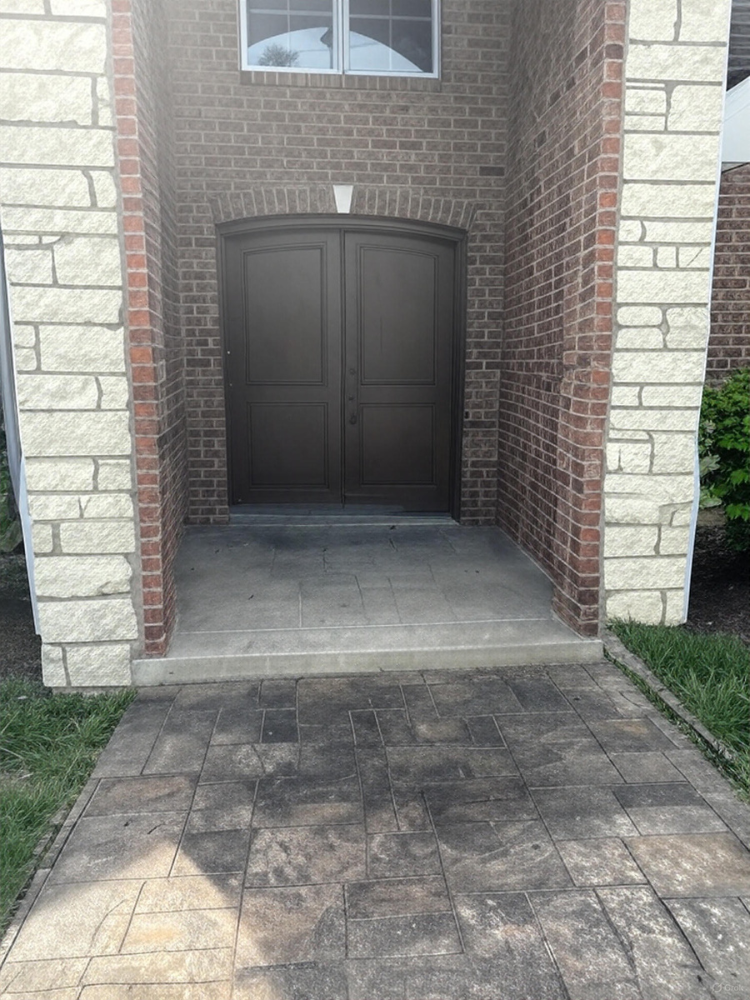
Adding glass panels to entry doors was something I have been wanting to do since we moved into our home in 2021. Our front room/entryway was a dark dungeon. I mean, you-have-to-turn-the-lights-on-at-9am level of dark dungeon.
So in 2023 we decided it was time to brighten up our dark dungeon of entryway by adding glass panels to it.
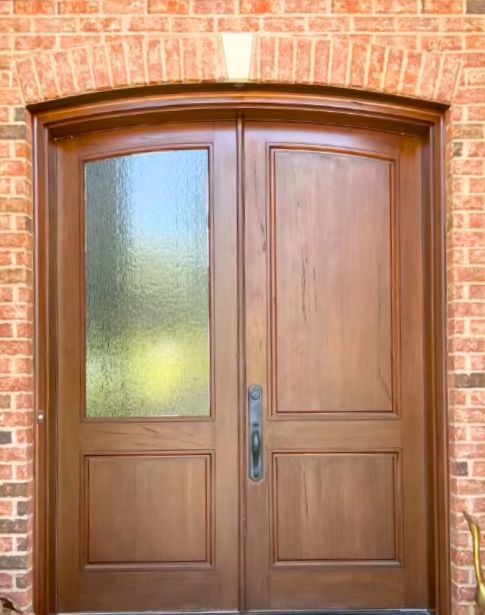
Our entryway always felt more like a cave than a bright welcoming entrance to a home. So, we took on a DIY project to add custom glass panels to our existing entryway doors—and the results completely changed the space.
Templating & Getting Custom Glass Cut
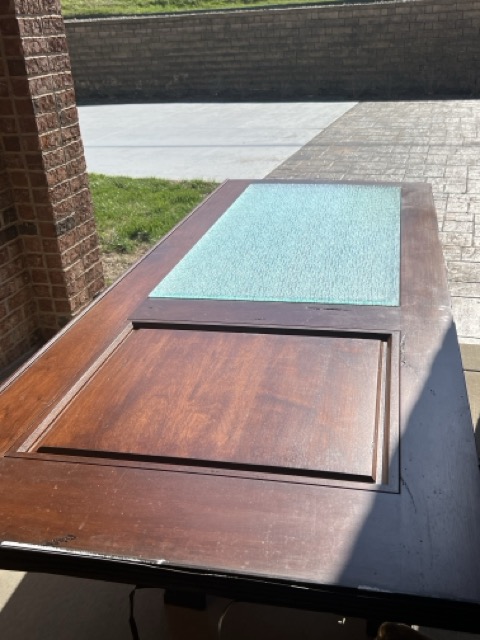
We templated the door panels on a hard cardboard and dropped off the templates to County Glass. We chose this textured privacy glass. It’s tempered for code purposes, I think.
We probably spent somewhere around $600 but to be honest it has been a while and also keep in mind that this was 2023 pricing.
This is what we got back from them. See below
Testing The glass For Fit
On the morning of day one of the project, we took the right door down first. We tested the glass on top of the door first to make sure that the glass is accurately cut because we knew once we started cutting, there was no going back.
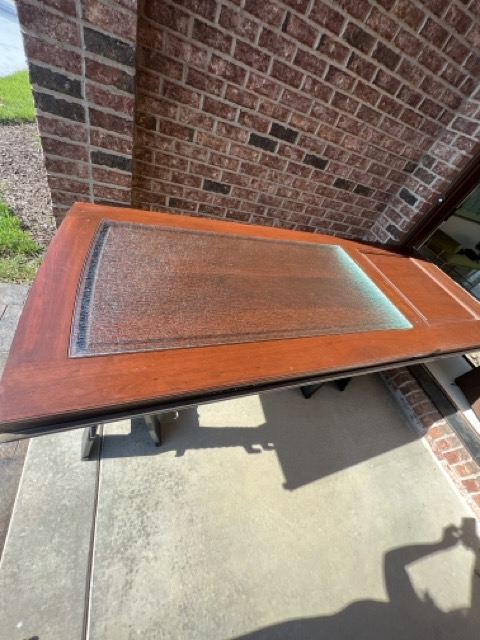
Luckily the glass was a perfect fit. So we proceeded to deconstruct the doors.
Deconstructing The Doors
It’s important to remember that only the interior of the door trim needs to be removed. So, make sure which side is which. The exterior stays intact. No deconstruction and reconstruction is needed on the exterior side of the door.
Surprisingly, most of the trim came off easily—except for the bottom piece, which gave us a bit of a challenge. Thankfully, the curved section came off intact, and we were able to use that as a template to recreate the trim later on.
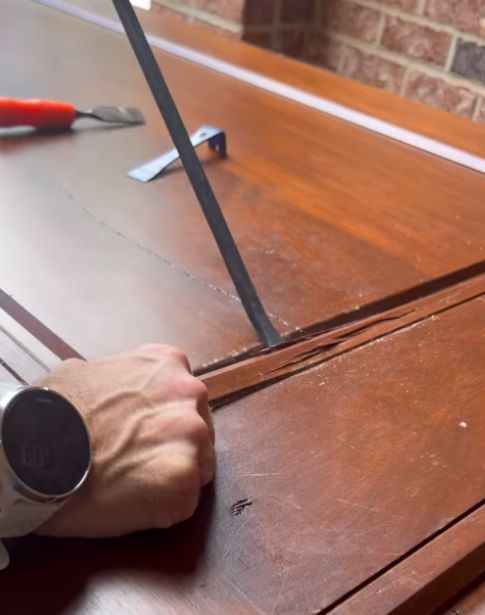
Removing the Wood Panels
The wooden panel is floating in a sandwich of trim. It’s not glued down or nailed. This is the way most 5 piece doors are made.
The reason being is that wood moves – it shrinks and expands, especially when it’s exposed to the elements.
Once the trim was off, the center panel—held in place by the rails and stiles—just popped right out.
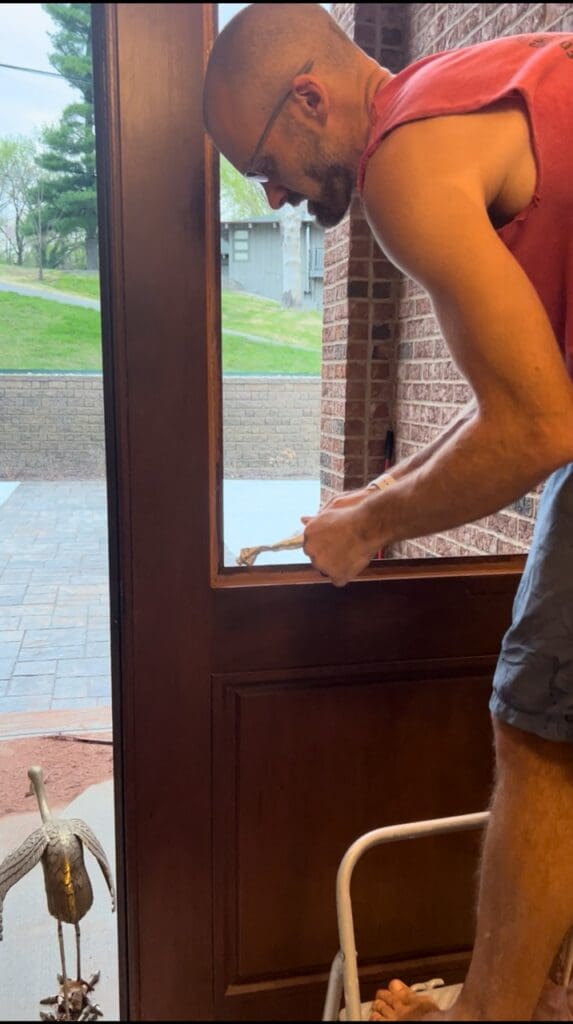
Cleaning up For the Glass With a Router
The next step was to use a router to clean up the edges, making room for the glass to fit nice and flat.

This was definitely the noisiest and the messiest part of the project. The mahogany wood dust was everywhere.
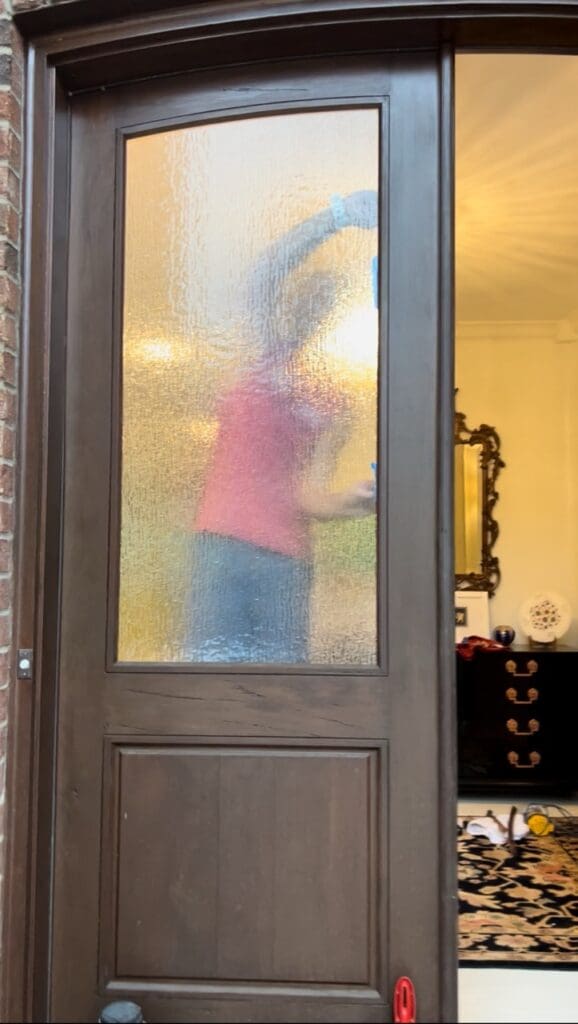
Double-check & Rehang The door
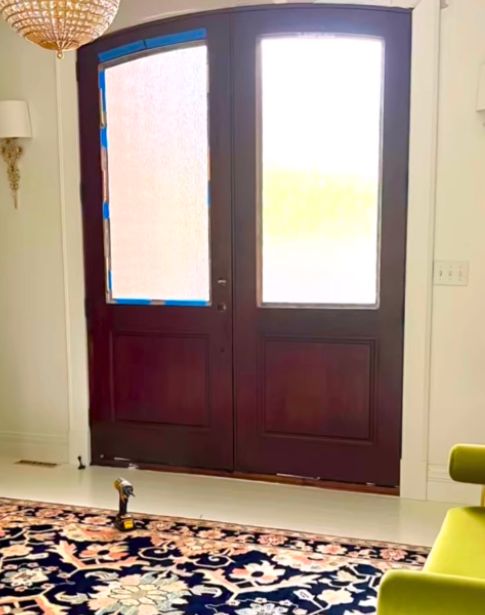
Eric double-checked the glass to make sure it still fits in the new opening. Luckily it did. Phew!
We hung the door without the glass attached and I will explain it next.
Hang The Door Then Secure The Glass
There is no way to do all the removal, the pre-work, attach the glass, let the epoxy/silicone cure, hang the door — all before dark –especially if you are doing this in April, like we were.
It’s hard to handle a door with freshly siliconed glass door, because there is no place to grab it without risking pushing out the glass.
Also like I said above, you gotta be able to secure your front door before it gets dark.
So, we hung the door first.
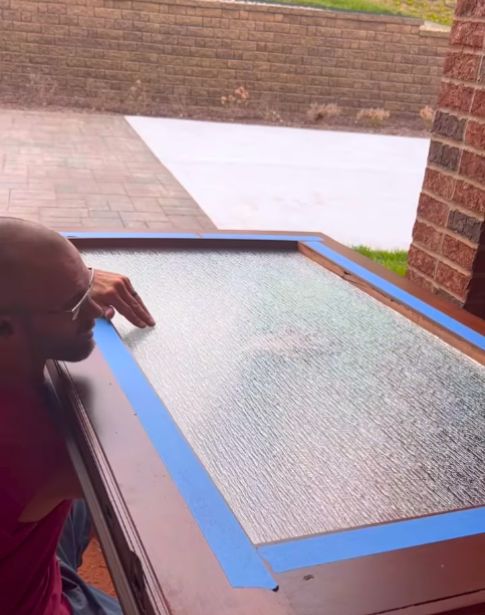
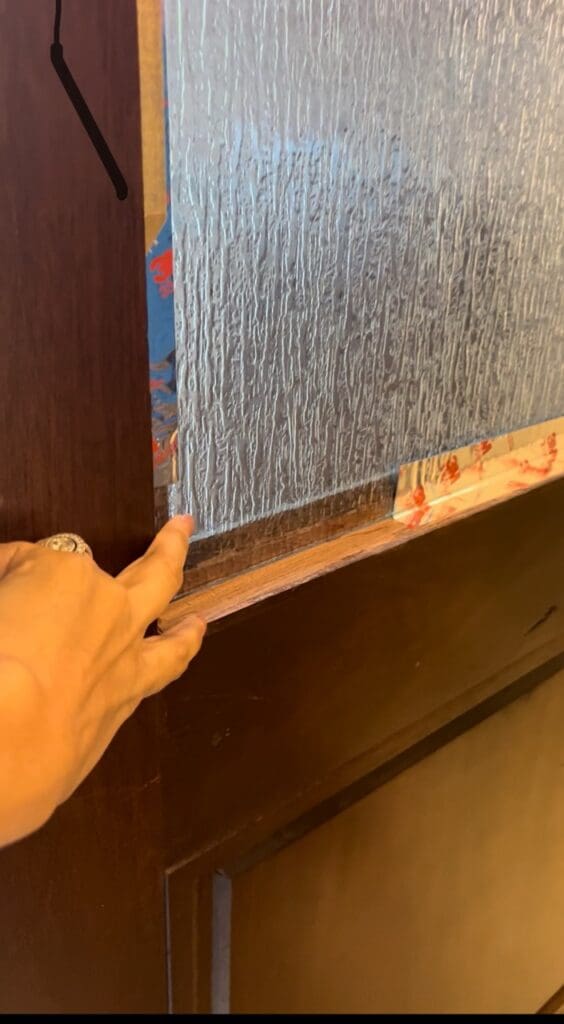
Then we attached the glass. We first secured it with blue tape.
Eric first applied blue masking tape and then aluminum tape (red arrow) to hold the glass steady.
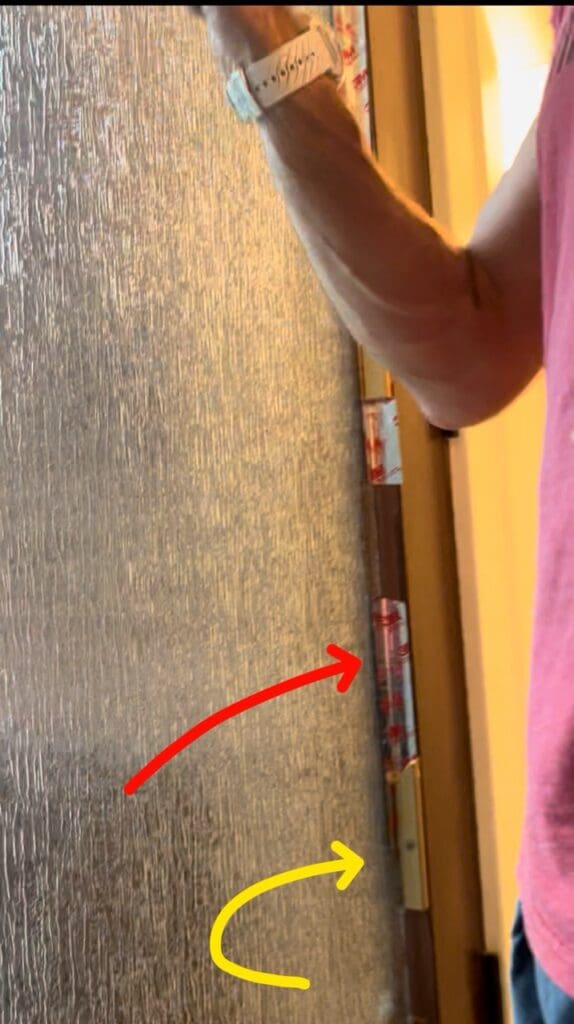
To ensure nothing shifted overnight, he added wooden blocks ( yellow arrow) to keep the glass safe and snug while the silicone cured.
Progress After Day one
Door Two: Rinse & Repeat
For the second door, we repeated the same steps. It felt like it went much faster.
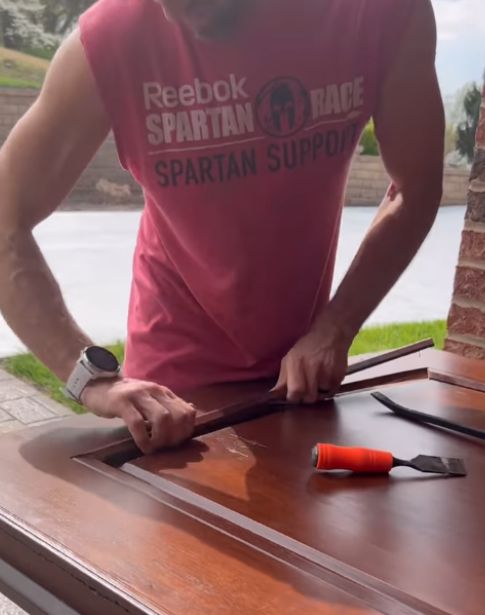
Using The Old Trim To Recreate The Original
Eric recreated the trim and stained it to match the original color, blending it seamlessly. By the time we finished, the doors looked like they came straight from the factory with glass already installed.
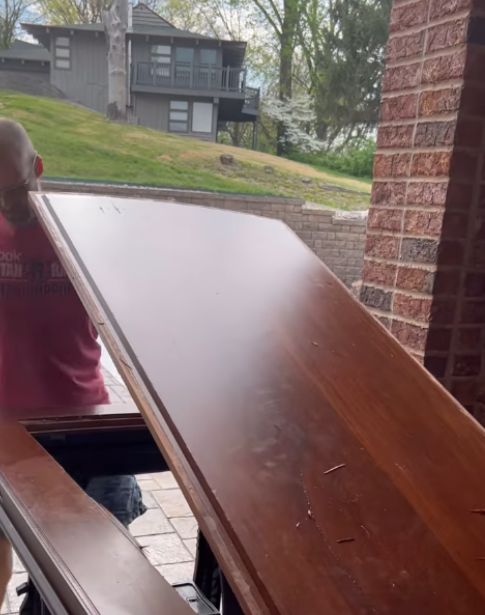
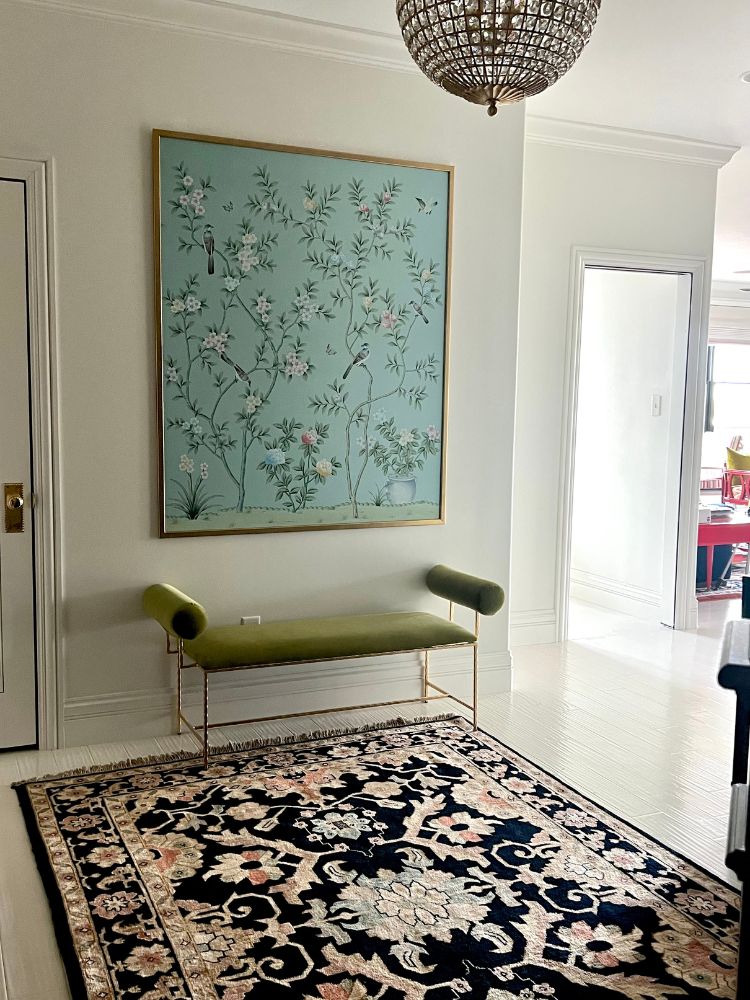
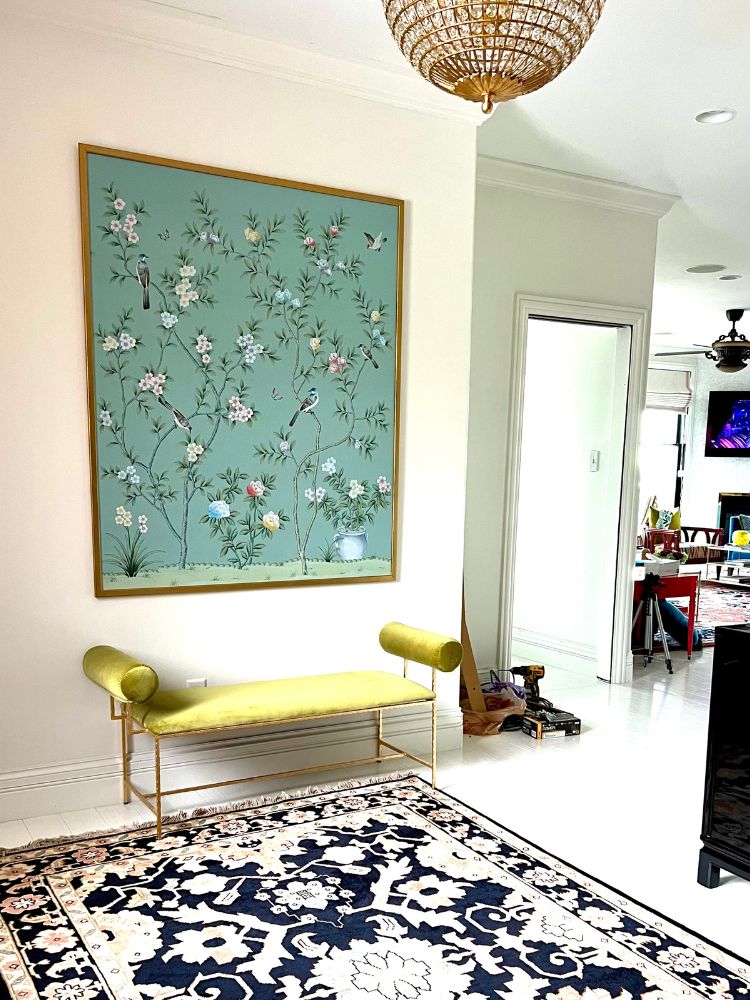
Evolution of The Entryway
The transformation was incredible. Adding glass brought in so much natural light, making the whole space feel more open and inviting.
Of course, waiting everything in White Dove including the floors made the room so much brighter!
Before and After: From The Outside
When we look back at the “before” photos, it’s hard to believe how dark the space used to be. The “after” feels like stepping into an entirely new home. It’s amazing what a bit of light—and a lot of DIY—can do.
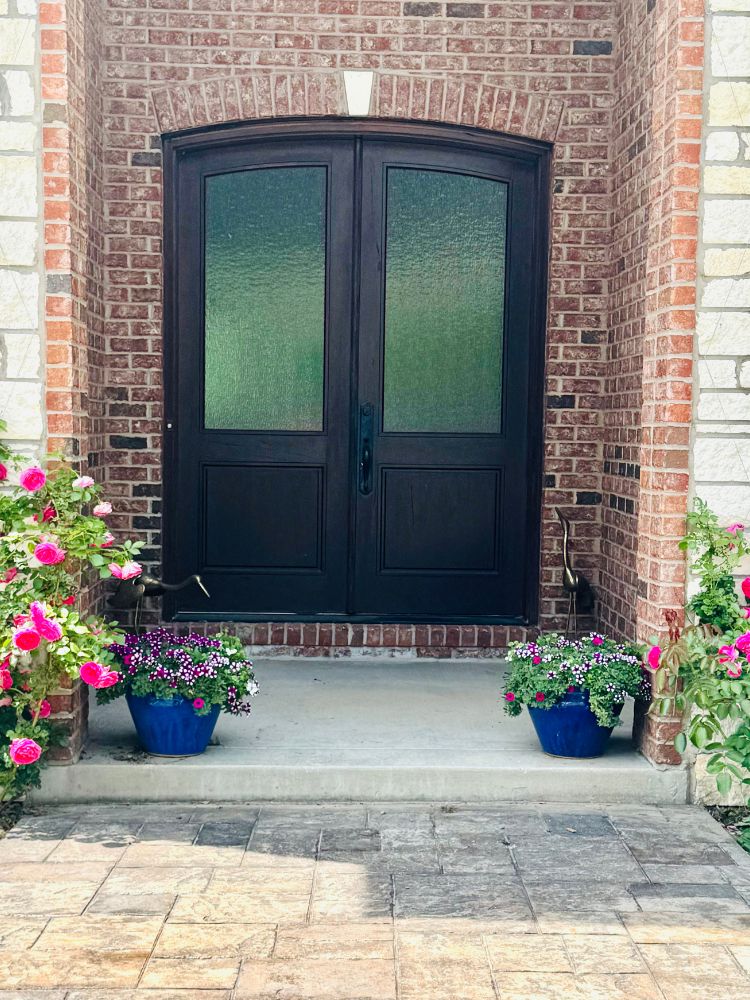
One of my favorite parts? The shape of the new glass panels echoes the arched window above the doors, creating a cohesive, intentional look that makes it feel like it was always meant to be that way.
